


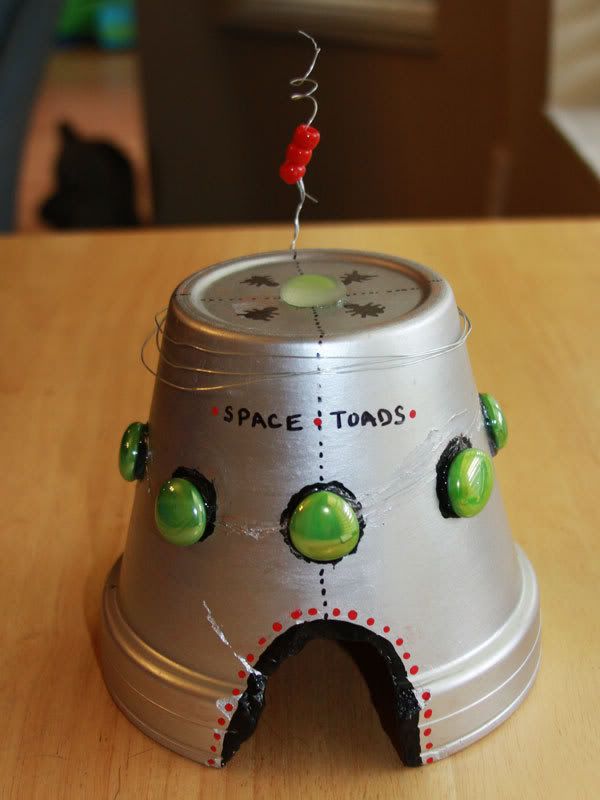
 The other evening we were inspecting the garden when we found a little brown toad sitting next to Cyril the Gnome. We do get quite a few toads in our back yard, but this was the first garden toad we'd seen. Aidan and I got to talking about toads and he asked me where toads live. I explained that they just find a warm moist place in the dirt among the leaves in the backyard and that becomes their home. Then I had an idea - making a toad abode is a fun kid craft and it would be yet another way to involve the boys in the garden - I realized we'd need to use "real" paint with this, so we made this a project for Jace's naptime. I asked Aidan what type of toad house he'd like to make and he promptly announced that he'd like a toad spaceship so the space toads could go back to their home planet.....oooookay. This is how the Toad Spaceship was born. Here are the directions in case any of you think that your garden or yard isn't complete without a bright silver Toad Spaceship.
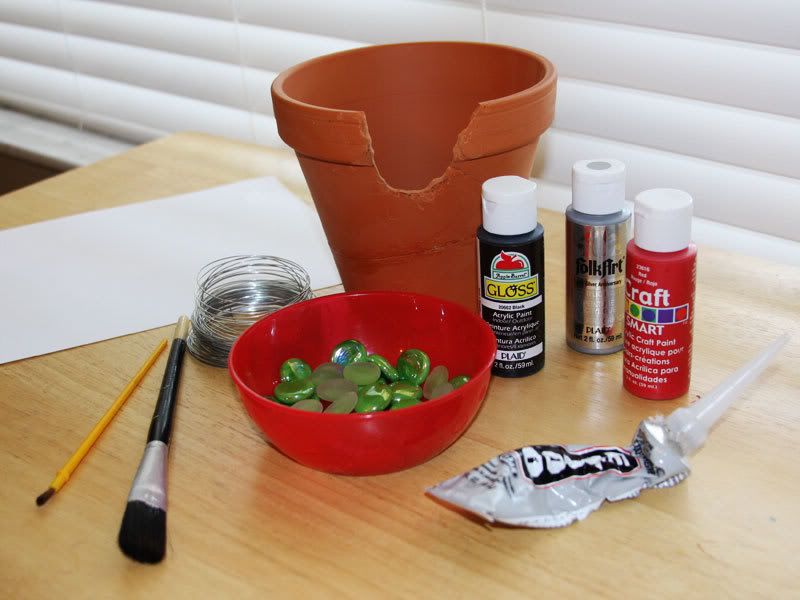
You'll need a pot, some paints and paintbrushes, strong glue (or hot glue gun), flat marbles, a piece of card stock paper, some thin wire and a permanent marker.
 We had a broken pot that I glued back together. The pot was seriously in three pieces and I got it back together with some E6000 glue (this is not glue for kids to use). The big chip out of the front would be perfect for the door. I used a Dremel tool to smooth down the edges of the cracked part so it wouldn’t be sharp on any little fingers. Aidan and I painted the entire exterior of the pot silver. The silver paint is regular acrylic paint from the craft section of Michaels and cost about $1.20 for the bottle - it is very quick drying. Aidan enjoyed this and it went quickly using the big brush. We gave it two coats and waited for it to dry - about 5 minutes or so.
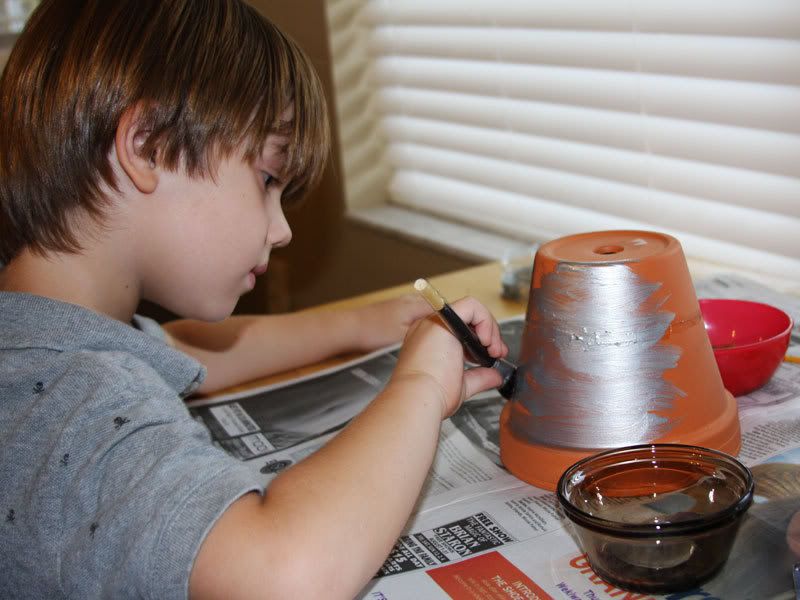
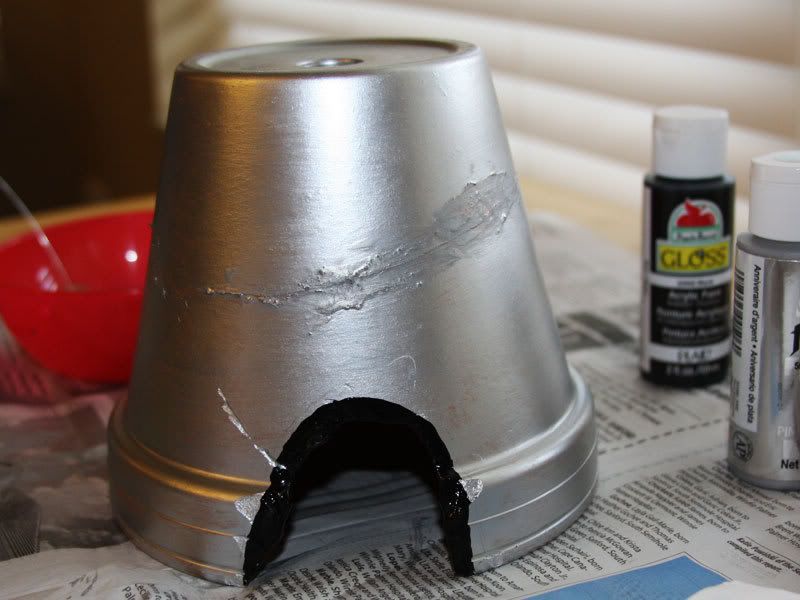
Then I painted a black arch around the broken part to make it look more like an even doorway. If we did not have a broken part, I would have painted an arch on it anyway to create a faux doorway and just tilted the pot back in the dirt so he could get underneath. This crack just added to the effect and gives the toad somewhere to enter into the spaceship.
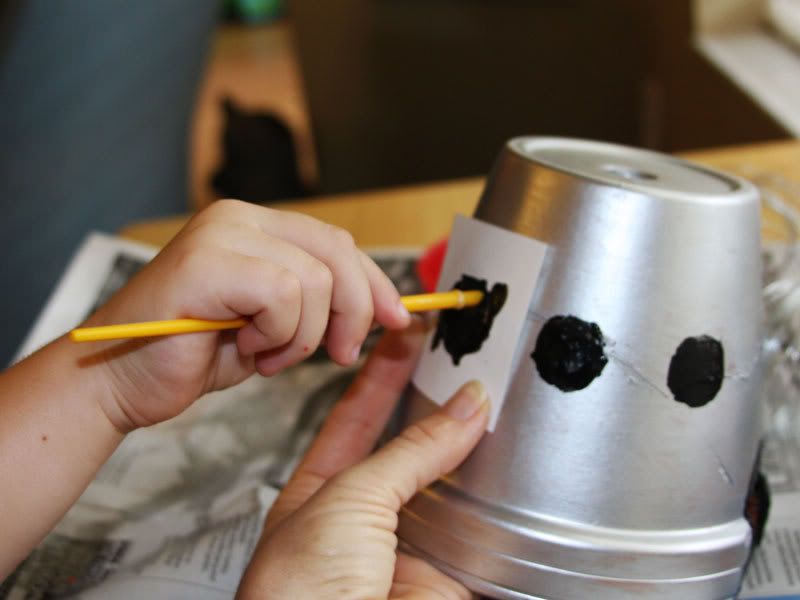
Then I cut out a circle in a piece of cardstock paper to create a window frame stencil. I placed that stencil on the pot. Aidan colored in the circle with black paint - we did that all around the spaceship to create the window frames.
 I then handled the glue and put a dab of E6000 glue in the middle of each black window.
 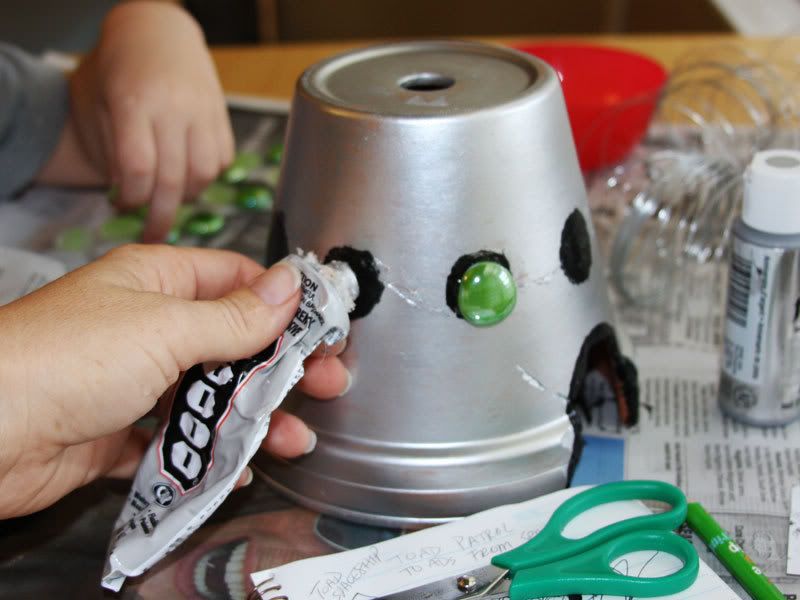 Aidan put one green flat marble on each dab of glue to create the windows.
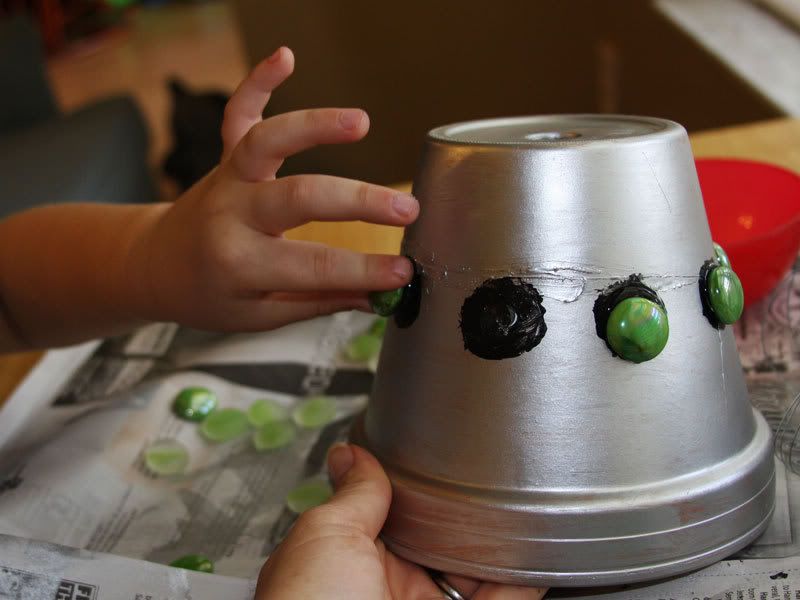
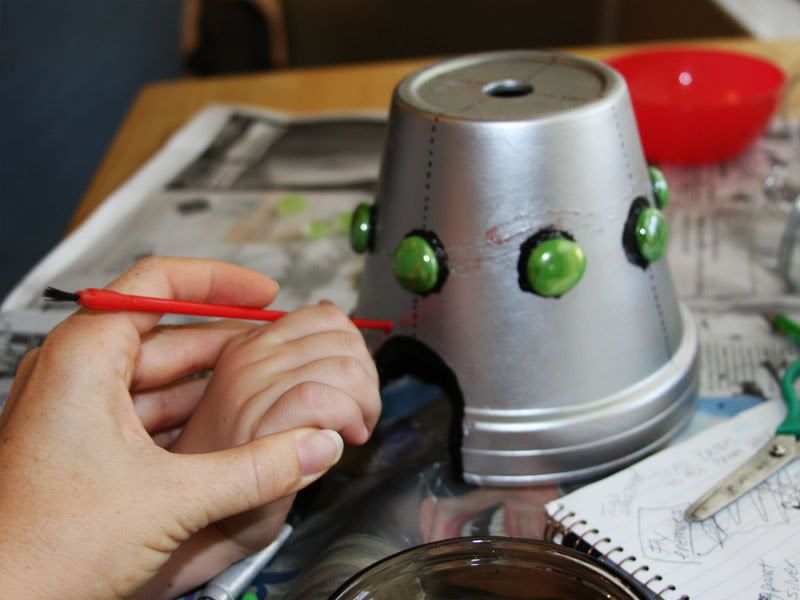
We then got a little bit of red paint and dipped the wrong end of the paintbrush in the paint and made little red dots around the doorway. Aidan needed a lot of help keeping his hand steady, but he did pretty well with a bit of assistance.
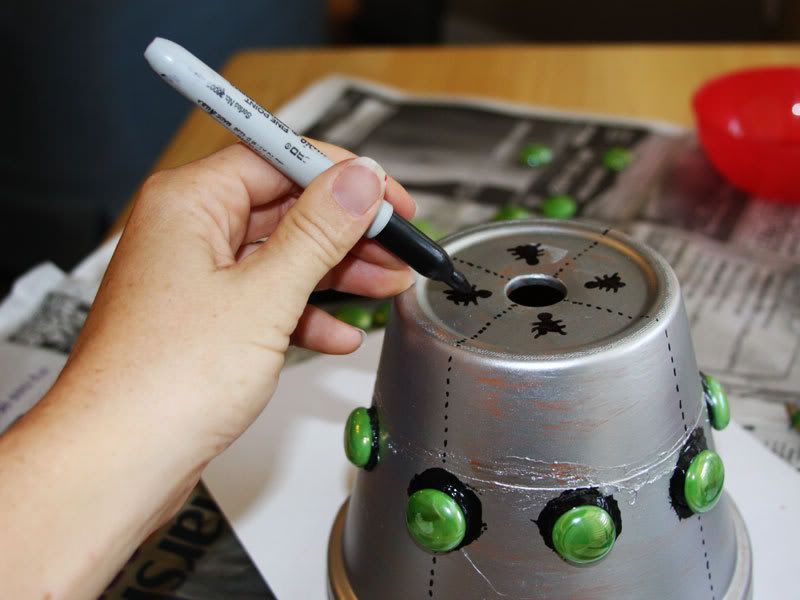
I then grabbed a Sharpie and made a series of 4 vertical dotted lines on the pot to create an effect of panels - like you'd see on a real spaceship. At the top we drew little flies and bugs with the Sharpie so they'd know they'd be toadbait if they came inside, according to Aidan. Aidan also insisted that it needed a moonroof so we glued another flat bead on the top hole.
Then we got some wire - it's very flexible and thin- I think it's floral wire, but anything would do. We wrapped it around the top of the spaceship and then wrapped a bit around a pencil to create a curved effect. We threaded a couple of plastic beads on it and put a dab of glue on the back to hold it in place. This is so the spacetoads can communicate with other spacetoads, of course.
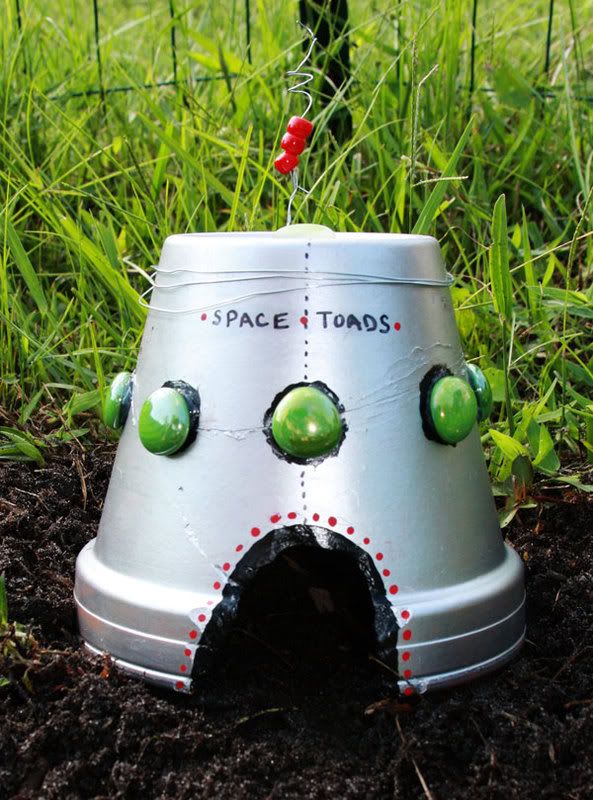
I then grabbed the Sharpie again and wrote the word "Space Toads" on the top of the ship and it was done!
After all the glue and paint were 100% dry we took it into the garden and gave it a home. To make a toad abode likely to attract a toad you should place it in a warm spot and place some dead leaves in the bottom. You can lay the pot on its side and partially bury it or do like we did and sort of tilt it back and bury it a bit that way. Then just wait for a full-moon and the arrival of the space toads.


7 comments:
really unique and cute toad house!!!
Can I come play at your house?
Very cute! And a neat idea. All space toads should have a spaceship of their own.
Perfecto! Now go submit this to The Crafty Crow asap!
We are in the process of building a butterfly garden and a flower pot toad house of some sort will most definitely be a new addition.
What a fun project. You must have some very happy space toads!
What a fun project. You must have some very happy space toads!
I love homemade yard art and this is definitely a keeper. Aidan's Space Toad ship is wonderful, what a creative mind you both have. I hope you don't mind but I printed the instructions out. My cubscouts will love making this. And now is the time to buy clay pots on the cheap around here.
Post a Comment