Showing posts with label kid craft. Show all posts

Tuesday, October 5, 2010

Kid Craft :: Make Your Own Bored Game

I haven't posted a Kid Craft in ages and thought it was about time since my garden is on a hiatus right now. I prefer to tell people that my garden is on sabbatical to make it sound more impressive, but I know no one's buying it. I'll admit that I don't post kid crafts that often because I don't think my average reader comes here for that - I think most people come to this blog for my dyn-o-mite gardening skills - snicker, snicker, snicker.

I thought I'd put my gardening prowess to one side today and show off a kid craft that actually turned out great. The boys and I made this game at the end of the summer, when the long, hot days were dragging and I needed something creative to occupy them one morning. I'll start by saying that one of the fun things about having more than one child is that the chances of them liking the same thing at the same time are about nil. So one will like Star Wars while the other likes Indiana Jones. This led me to the game that killed the end of summer boredom blues for our family. It was a full-out life saver.

It was simple. I sat down with the boys with some pieces of paper and let them draw out some ideas for the game. Of course the ideas were awesome things like "Battle Darth Vader" and "Swing on a rope with Indiana Jones" and "Fight a monster with Scooby Doo" - all things that seemed impossible to integrate into one board game.

But then I had a eureka moment. Yes, we'd integrate all the ideas the boys had into the biggest mish-mosh of junk you've ever seen and everyone would be happy. This is something you would never be able to find in a store. It would be awesome.

I got a piece of poster board and a sharpie and drew out a long snaking trail for the game. I separated the trail into typical game board squares and gave the boys a box of crayons and let them color in the squares. We also made bridges (or the requested "shortcuts") that would allow a player to battle the bad guy of their choice, so they colored those in too. This whole process was quite time consuming for them, which I thoroughly enjoyed. That's not wrong, is it?
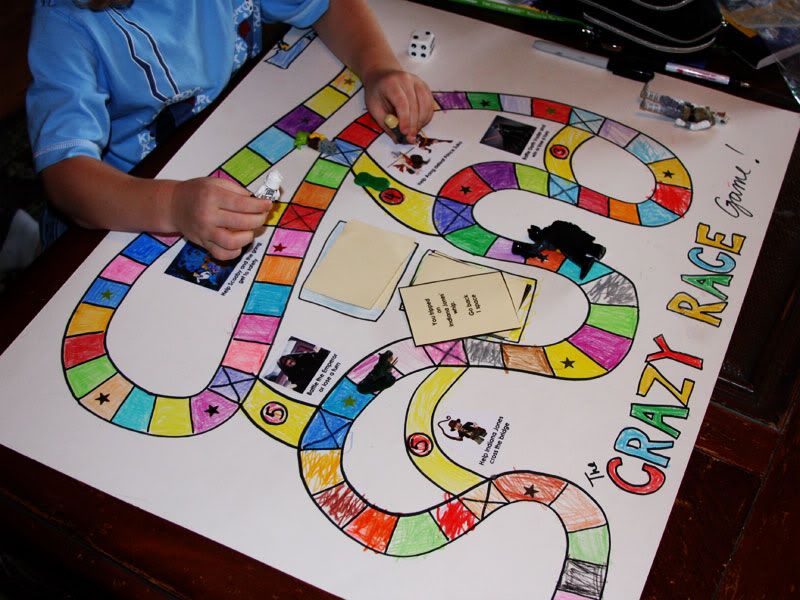

Then we went online to Google image search and printed out a handful of pictures of their favorite characters that we cut out and glued down on the game board in the appropriate places. We've got scenes from The Last Airbender, Star Wars, Indiana Jones, Scooby Doo etc.

We used an oversized die from another board game and players can choose their own "guys" each time they play. We've used full-sized GI Joes and Star Wars figures, lego guys, army men, batmen and even a dirty sock once. Whatever tickles their fancy for the moment is their guy, which really does add to the fun of it.


My boys like twists in games so we made up a stack of game cards by making a bunch of simple text boxes in MS Word and writing appropriate game card lingo on each one. They all correspond to the characters on the board and some are just downright silly - "Sing your favorite song or go back 2 spaces" for example (I should note that my youngest son pulls that card, growls, and then moves back 2 spaces every time). I sat there on the computer and let both boys come up with ideas for an equal number of cards. We have some that move you forward (Yoda helped you. Forward 3 spaces you go); some that hurt you (You tripped on Indiana Jones' whip. Go back one space); and some that challenge you (A T-Rex is chasing you. Roll higher than a 3 to escape or go back 5 spaces). We made 20 cards and printed them out on card stock and cut them out. We also drew two rectangles on the board for 'cards" and "used cards" so they had a home while we were playing.


We then put numbers on all the bridges. When you reach a gateway to the bridge (a square marked with an X), you must roll the die and if you get the number on the bridge or higher, you can cross it. If not, you stay where you are (although one of the bridges where you battle the Emperor from Star Wars says right on the board that if you don’t roll the right number, you lose a turn).


We put star stickers throughout the game on random squares. If you land on a star sticker you draw a card and do what the card says.


If you land on a square with another player you have to battle the other player. Can you tell I have boys? This was their idea and their favorite part of the game. When another player lands on a spot that's already occupied, both players roll the die. The person who rolls the lower number moves backward that number of spaces. So if one person rolls a 4 and one person rolls a 2, the person with the 4 stays put and the person with the 2 goes back 2 spaces. And if you're really lucky you'll land on a bridge and get to roll to cross the bridge or land on a star sticker and draw a card. It's all very exciting.


I'm very surprised that we made this game in August to get us through a long summer day and here we are in October and the boys still enjoy playing this game almost daily. Since it's won the test of time at our house I thought I'd post it here incase another parent needs a basically free craft to entertain the kids. I am really amazed that they're still as excited to play this as they were the day we made it. You can customize it to whatever your children are interested in and you can put many different characters on the board to please multiple kids.

It's the best board game for killing the boredom around our house now… I'll admit that making a Halloween one with black and orange squares and Halloween characters sounds appealing and making a Christmas one with red, green and white squares and completing Christmas challenges also will be on the to-do list for the holidays. Who knew that a 59 cent piece of poster board could be so much fun?

Saturday, April 3, 2010

Happy Easter Everyone!

I'd like to wish a very Happy Easter to all my readers, friends and family!!! Hope you have a safe and fun holiday weekend!!


Saffron enjoying the Spring


Dyed eggs in homemade brown paper nests!

Thursday, July 23, 2009

The Ultimate Indoor Photo Treasure Hunt

Remember last year when I made the Ultimate Backyard Photo Treasure Hunt for the boys and it was an insanely huge hit? We've re-earthed it a couple of times and I've since added some photos to it to make it more challenging. The problem is, it's 175 degrees out with 800% humidity these days and we (meaning "I") avoid spending too much time in the backyard. This leaves us with two very cranky housebound boys and one very cranky me who spends all day trying to come up with things to do - most of which are shot down instantly.

I decided to take my own advice from the Backyard Treasure Hunt and make The Ultimate Indoor Photo Treasure Hunt for the boys. I put this together in about 15 minutes and it was such a huge hit. Farmer B was home when the boys went on the hunt and was smiling ear to ear watching them tear around the house.


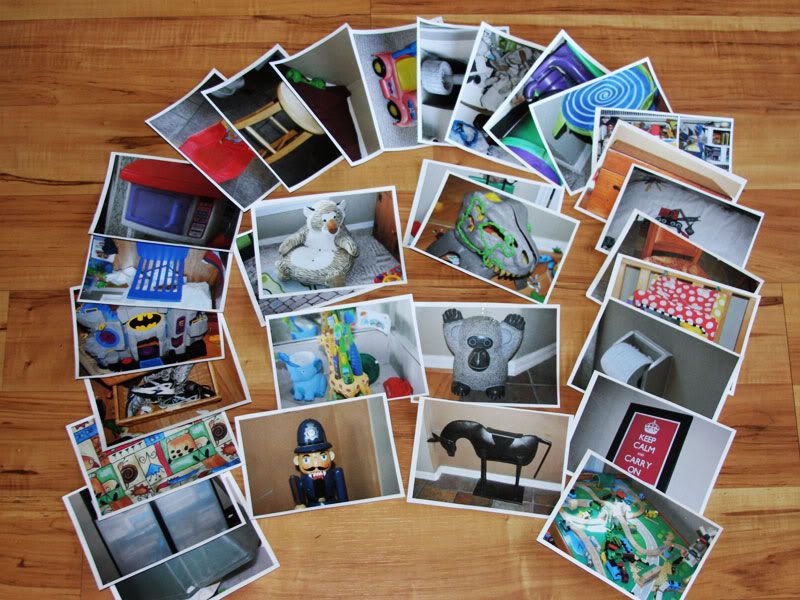
I set up the Treasure Hunt by going around the house and taking photos of everything I could think of. Being creative and taking pictures of items that could be moved around, such as a ride-on truck and the boys' little chairs, was definitely the way to go. I hid the ride-on truck behind some curtains and I put the Elmo chair in the front hallway. I also took some close-up photos that took the boys a minute to figure out the location of the clue.

Some other photos I took were:

Shoe basket
Underwear drawer
Toilet paper roll (they had to run to all 3 bathrooms trying to guess which one it was)
Paintings on the walls
Dog bed
Toys
Cat litter box
Vacuum cleaner
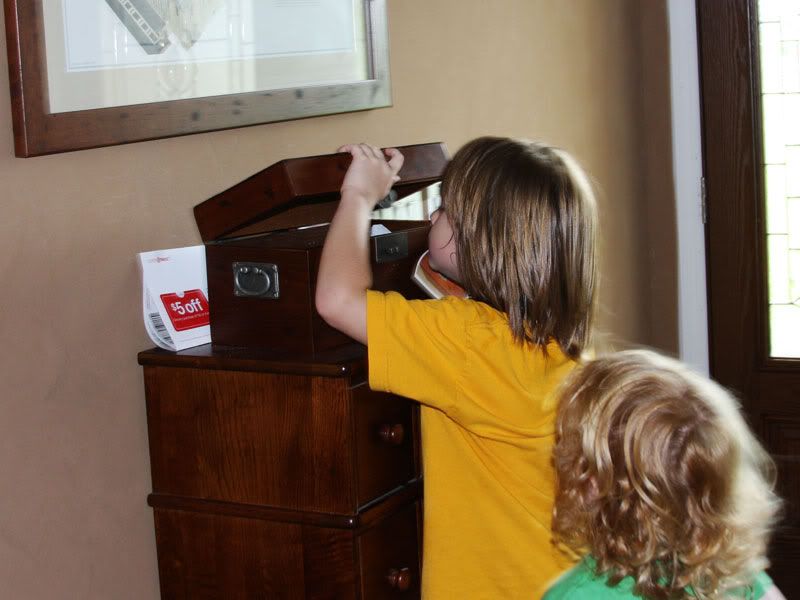
Key box
Dining room chair
Bed sheets

You get the idea. The dining room chair photo clue turned out great because I taped the next clue to the bottom of one of the chairs and since we have eight chairs this took them a few minutes of circling the table.


To set up the game, just take as many photos of things inside your house as you can. I think I took about 30 photos. I printed them out on cardstock paper, four to a page, and then cut them out. Farmer B took the boys outside while I set up the hunt. I started with a sign on the sliding glass door that told them a treasure hunt was on. The first photo clue was taped to the bottom of the note.


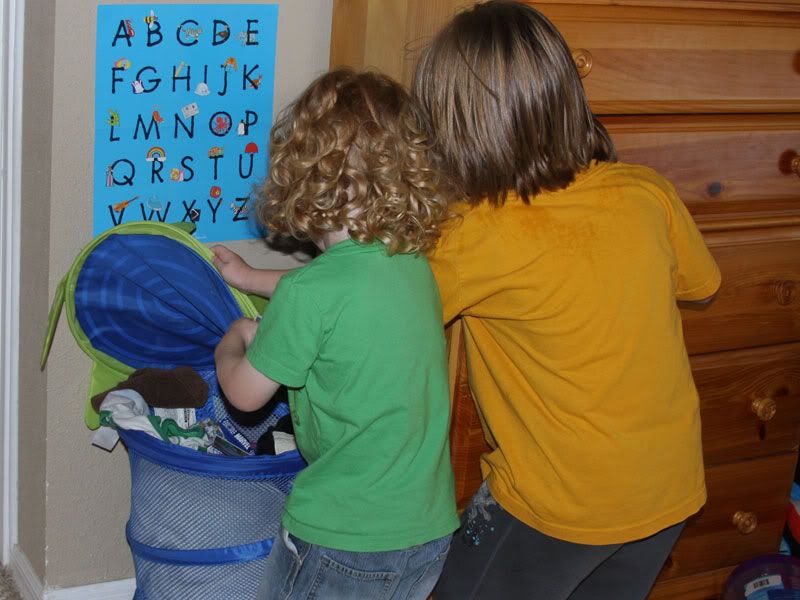
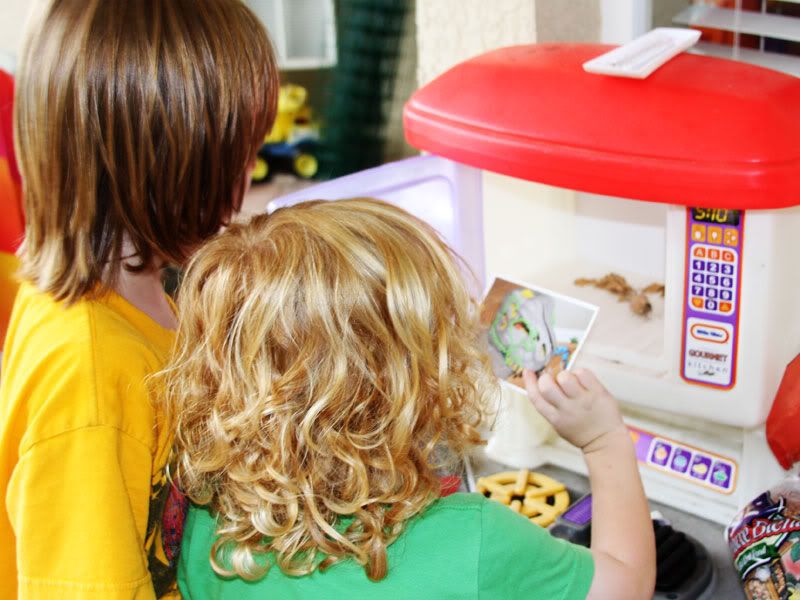
This photo clue was a picture of one of our barstools. The barstool with the photo clue taped to it was hidden in the hallway. When the boys found it and grabbed the clue, it sent them running to their playroom. I made sure that the clues were zigzagged around the house so there was a lot of running involved.


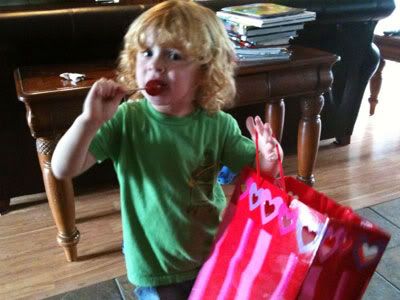
The final clue was on the patio hidden behind the pool boxes. It was a red bag (leftover from valentine's day) with a couple of little toys in it and two Tootsie Roll lollipops. The boys were completely overjoyed with the whole experience and said they can't wait for the next hunt. If you're stuck inside in the heat with some bored kids who aren't old enough to read real scavenger hunt clues, you've got to try this easy and fun activity. You can reuse it by changing up the order of the clues and moving some of the moveable clues to different places in the house.

Tuesday, July 14, 2009

Kid Craft :: Binoculars for budding naturalists

My friend Courtney has a theory when it comes to doing activities with your child - There is an inverse relationship between the amount time and effort you put into making something with your child and the amount of actual enjoyment by your child. When you spend hours lingering over the perfect craft or activity with your child, they drop it in 2 minutes, never to return to it. When you slap something together in 30 seconds with no thought or skill associated with it, you can guarantee that your child will love it. This explains the success of these very low-tech binoculars.


The reason behind these binoculars is simple. My three-year-old has changed his identity and now firmly believes that he is British naturalist Nigel Marvin. Nigel carries a backpack and wears binoculars. Jace now carries a backpack constantly and was in desperate need of binoculars to complete the ensemble. Jace became obsessed with Nigel when he got hooked on his Prehistoric ParkDVD set. He is obsessed to the point that he now will only respond if you call him Nigel and he has renamed his big brother Bob, after the park handyman, and I'm Suzanne, after the park veterinarian. This is how we've been living for well over a month now.
So I think it's clear why we needed to create binoculars. Why on Earth another kid would need them is beyond me. But I know there are plenty of quirky toddlers out there, so maybe this tutorial will save another mom whose kid needs binoculars now. Right. Now.
Have a budding naturalist too? Here are the easy steps to throw together your own binoculars in just a few minutes.


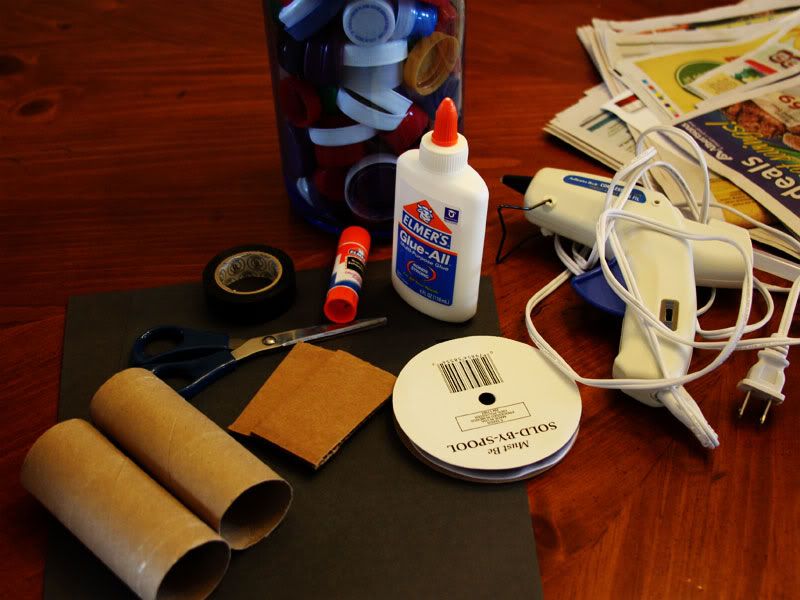
Supplies:

Two empty toilet roll tubes (or one paper towel tube cut in half)
Electrical tape
Construction paper
Ribbon
Glue stick
Scissors
3 Plastic bottle tops
Cardboard
Drill (not pictured)


First you want to cut you sheet of black construction paper in half lengthwise. This makes two long rectangles that should be the same width as your cardboard tubes. Then wrap the cardboard around each tube and cut it to size. You'll have two rectangles of paper to go around your two tubes.


Give your kid a glue stick and have them glue the construction paper and wrap it around the tube. Do the same with both tubes. Then wrap a piece of black electrical tape around the center to keep them together.


Get a small rectangle of cardboard and wrap it in a contrasting color of construction paper. Once again, give your kid a glue stick and have them glue the paper onto the cardboard.


Hot glue a soda bottle top to the middle of the cardboard for the button. It's best to also use a hot glue gun to attach the cardboard rectangle to the tubes. And obviously don't let the kids use the hot glue gun.


Then get a drill and drill two small holes right through the middle of two plastic bottle tops. These are from some 2-litre juice bottles.


Put some hot glue around the edges and glue them to one end of both tubes.


Get a piece of ribbon or yarn and tape it to the outside of the binoculars so they can be worn around the neck. Measure your kid beforehand so they don't dangle too low.

Viola. Binoculars.


Jace has been using these binoculars daily for about three weeks now. We made a pair for each boy and luckily Aidan lost interest in them within the first 5 minutes, so Jace has two pairs to switch between when one pair gets damaged. We have since re-hot glued the white "eye" pieces back on about 6 times each and have reinforced them with electrical tape.

He puts them around his neck when he gets up in the morning and takes them off at bedtime. He also wears them when we go out and tries to spot dinosaurs with them while riding in the cart at the grocery store.


Oh, just don't call them binoculars. They're glasses.

And don't call him Jace. He's Nigel.

Thursday, June 25, 2009

Garden Memory Game for Kids

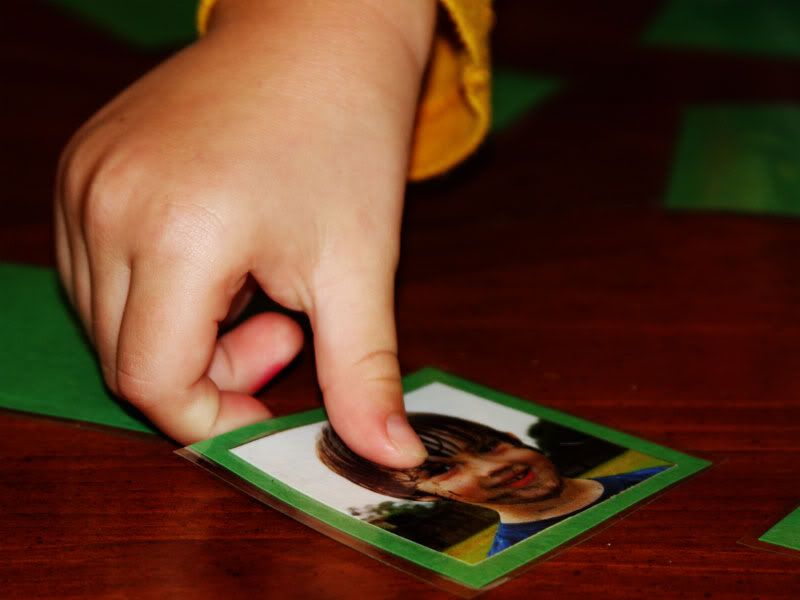
I've got two exciting anniversaries coming up - This Saturday is the one-year anniversary of the blog and it's also the day we officially decided to start our garden! (I'll be celebrating my bloggiversary on Friday if you want to stop by). I wanted to find a fun way to document the first year of our adventure into gardening for the boys, because at 3 and 5 years old, they aren't big blog readers. I thought about making a photo album from the past year, but how often do you see young kids thumbing through photo albums? Instead I found a way to combine our first year of gardening into a game that my boys love. So we came up with "Our First Garden Memory Game."


I should warn you that if you try this, it's much more time-consuming and fiddly than I originally anticipated, but the end result was awesome.

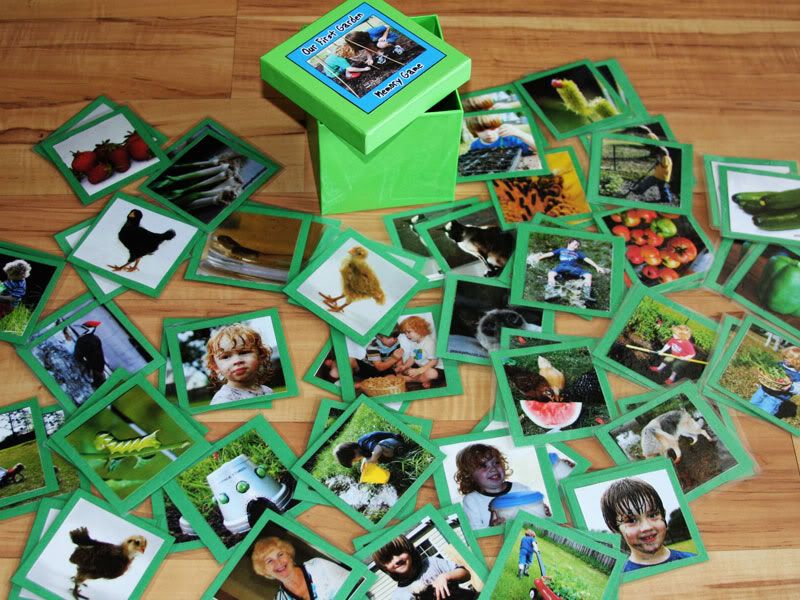
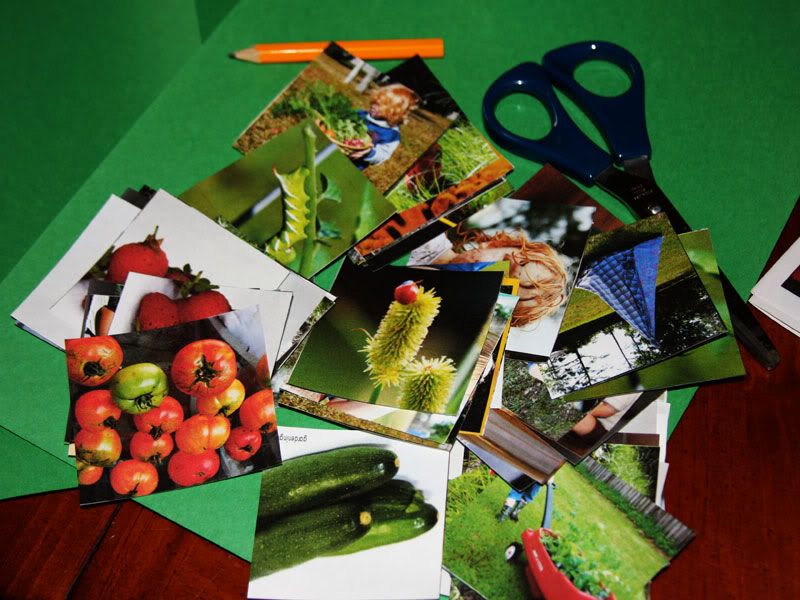
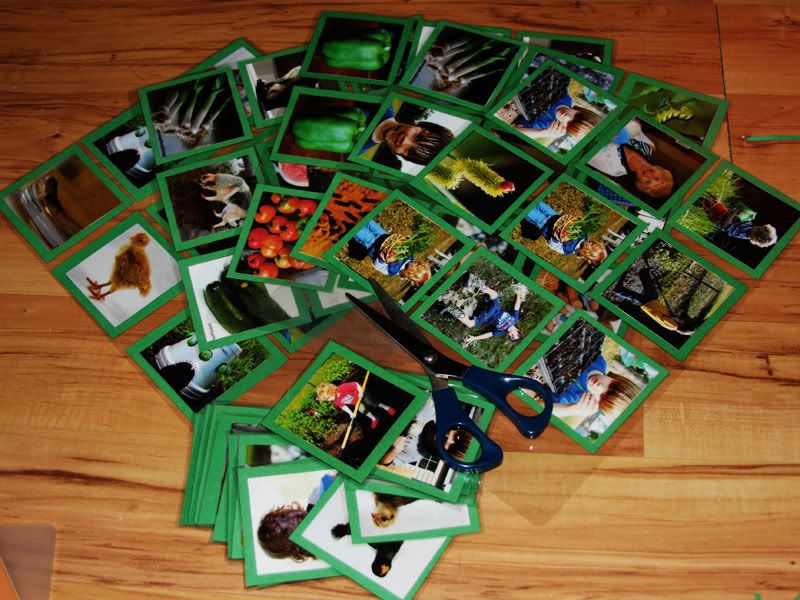
I went through the past 12 months of garden photos and tried to pull out a representative group showing some of the gardening events that would be memorable to the kids. We've got our first harvest, hornworms, ladybugs, making a space toad house, building a tent from garden stakes, fishing for tadpoles, making mud puddle angels, and even pictures of the pets, the whole family making butter and some close-up photos of our best harvest.


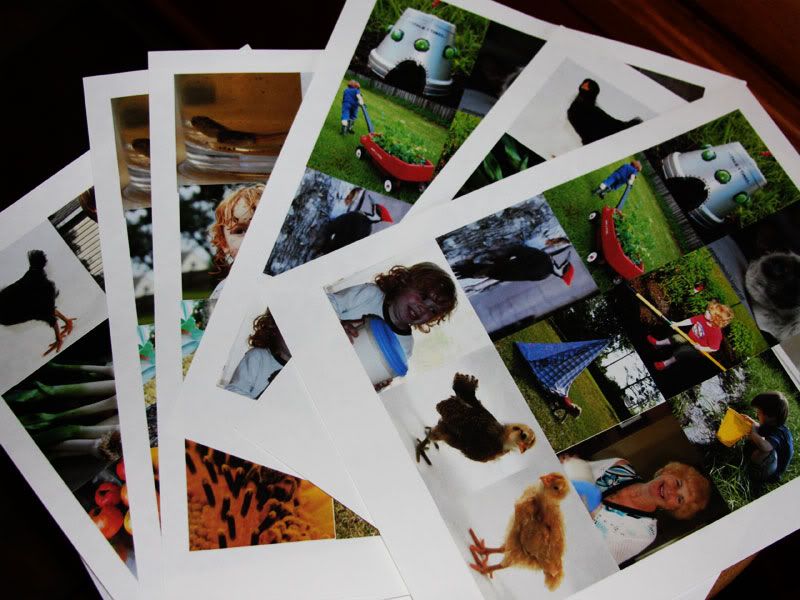
I made a grid in Photoshop and placed each photo inside 2.5 x 2.5 squares on the grid so I had 12 photos per page. I printed out two copies of each photo on cardstock paper. I made 36 matching pairs and tried to get an equal number of both boys because…well, if you're a parent I don't need to finish that sentence.


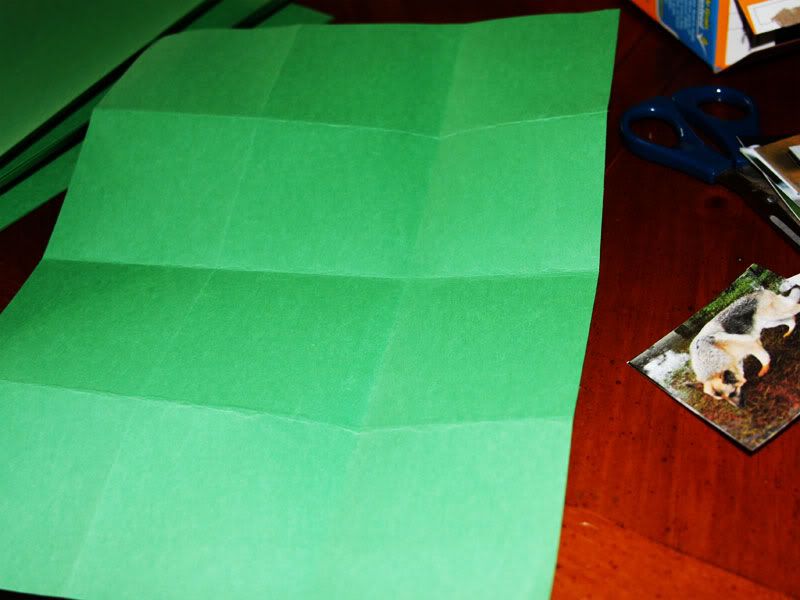
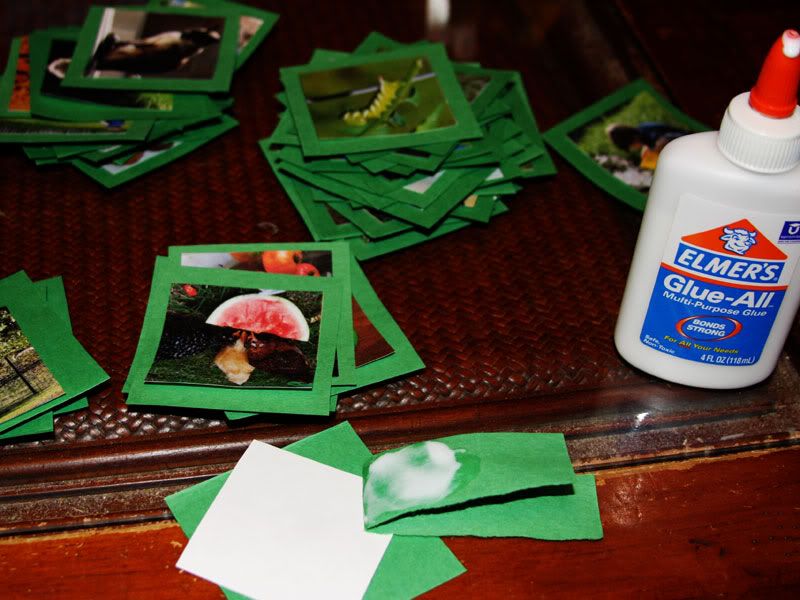
Then I cut out the photos so I had 72 little square photos. I then got some green construction paper and folded it into thirds lengthwise and then folded it down into four squares widthwise. This makes a nice green backing for each photo and gives each one a nice green mat effect. This step was very time consuming, but we have another fun memory match game I printed out from Jan Brett's website that the boys love, and although it's done on cardstock, my 5-year-old has figured out that if you stare hard enough at the backs of the cards you can make out some shapes and colors and make a match every single time. This sends my 3-year-old into an unrecoverable downward spiral. To prevent this, I went with the green backing.


I then glued 72 green squares to the backs of 72 little square photos. You only need one tiny little bit of glue in the middle, so this step went pretty quickly.


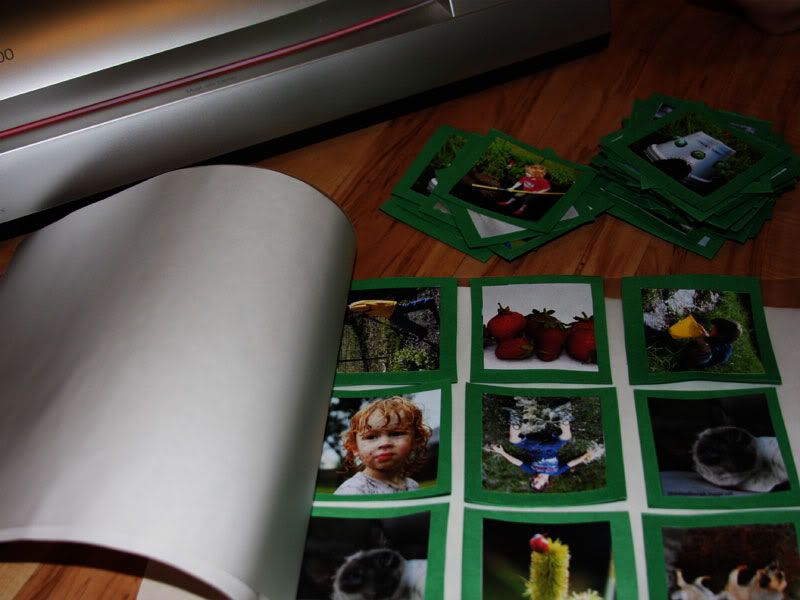
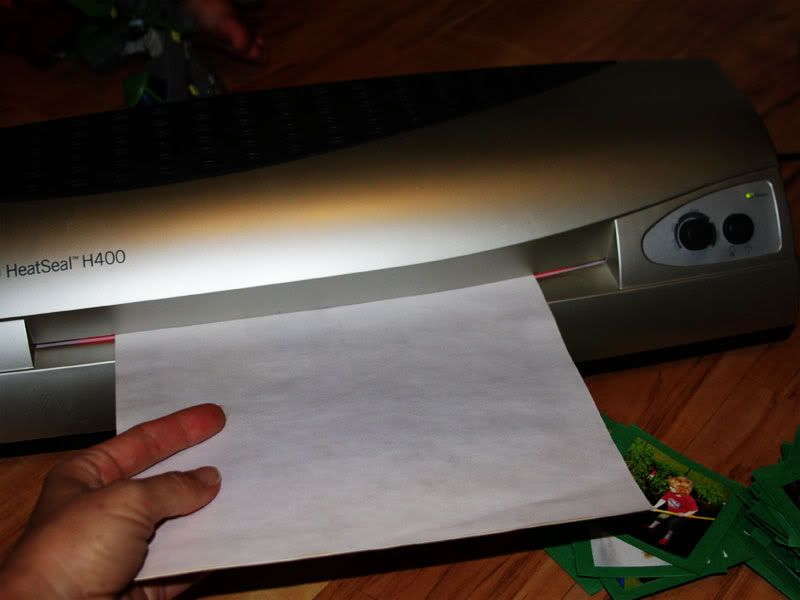
I then put the cards inside a laminating sheet, leaving just enough space between each one to be able to cut them down to size. The problem with this was that the green squares were each about 1/8th of an inch too big to fit perfectly inside the laminating sheet. This would have caused me to use a TON of laminating sheets since only about 6 per page fit. So I sat there with scissors cutting a thin strip of paper off the edge of every single side of 72 little squares - the entire time thinking, wow - this was clearly a dumb idea. But I made it so that I got nine per sheet, so it was worth it. So if you try this, make your backing squares small enough so you can line up plenty of them inside a laminating sheet BEFORE cutting out all the individual squares.


I ran them through the laminator and ended up with a handful of laminated sheets of memory cards. I cut them out and the game was complete.


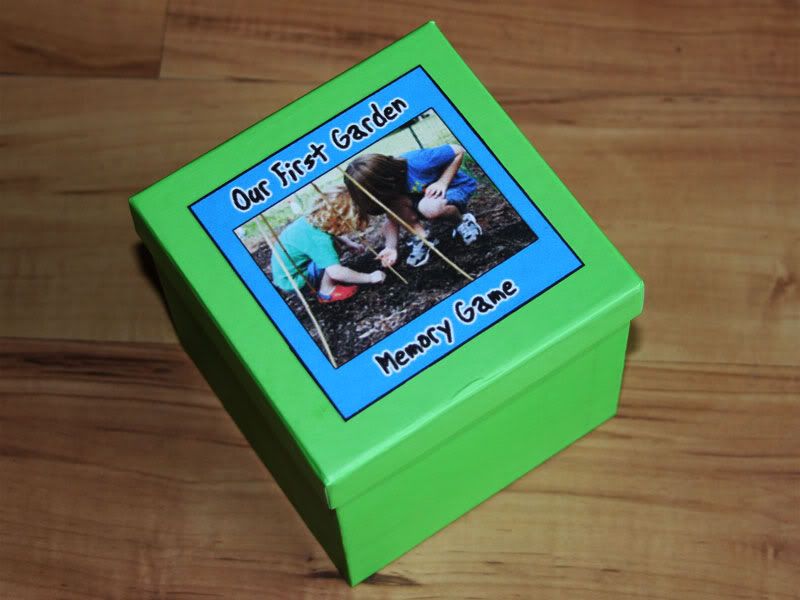
My mom found a cute green box at a craft store for $1 that we decorated to use as the game box with a little graphic I also made in Photoshop.


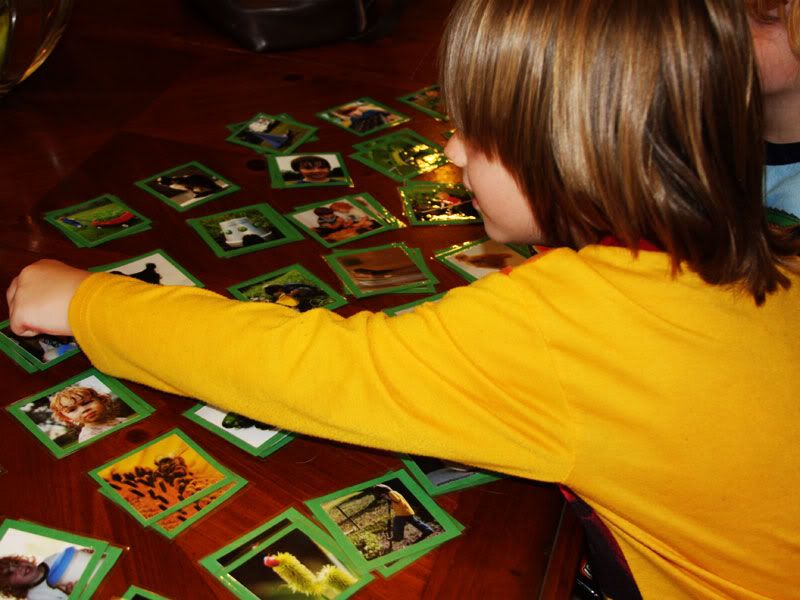
The boys are in love with this game. Because 36 matching cards are entirely too many to use at once at their current skill level, we start out each game with each boy picking out a handful of pictures they like and the remaining ones get put back in the box. We then mix their cards together, flip them upside down and start the memory game.


The boys are more thrilled with this game than I expected. I love hearing them get excited about the photo and then start talking about the memory associated with it. I knew it would be a memory game, but I didn't anticipate the garden memories that went along with it. It's great hearing them say "Ohhhh - this was when we learned to shell peanuts!" and "Oh! I remember when we planted those seeds in that tray!" and "Look how dirty Jace is!" and "Look! There's Nanny making butter!" I know that as they get older, we'll be able to keep adding cards into the game until they're finally using all 36 matching pairs at once. It'll be fun in a year or so to look back at how little they were in the pictures and remember the first time we planted a family garden.

A personalized memory game like this would be tons of fun for any child - from a first soccer team, to a kindergarten class, to a fun summer vacation. Kids love turning over pictures of themselves and family members and talking about the memories associated with the pictures. Making our garden has been such a great memory for us and I'm glad to know that the boys won't soon forget their first year as junior gardeners now that they have this game.

Wednesday, April 22, 2009

Kid Craft :: Shadow Puppets

I know my regular gardening readers probably recoil at my kid craft posts, but I'm a full-time mom and part-time gardener, so most of my day is spent trying to occupy two little boys without relying solely on SpongeBob and Scooby Doo. Trying to come up with something creative every single day of the week isn't an easy task, but every now and then we find something that's a real hit. This activity was such a hit that I had to share it incase another mom needed something cheap and easy to do with her kids.

I've always like the idea of shadow puppets, but wasn't sure we could pull it off. It turns out you need no skills whatsoever and it doesn't cost anything so we gathered the essential equipment:

Wooden sticks (we used bamboo skewers from the kitchen)
Black construction paper
Tape
Scissors
Freezer paper
Lamp
(Optional: laminator)

To get the ball rolling I sat up one night scouring the web for photos of a house, a wolf and some pigs. I found the pictures and printed them out. Then I cut them out and traced around the shape onto black construction paper. Next I cut them out and laminated them. Finally I taped a bamboo skewer to the back of each one, after I cut off the pointy part of the skewer. The boys are very familiar with the Three Little Pigs story so I knew they'd jump at the chance to act it out.


We got two barstools and stretched out a piece of freezer paper in between the stools and taped it in place. We put a halogen desk lamp behind the stools and turned off the lights in the room. We started with me telling the story of the Three Little Pigs and the boys watching, but I wasn’t able to finish the story without the boys begging to tell their own version. They had such a great time acting it out and changing up the story.


Then they decided that making their own shadow puppets would lead to much better stories. The boys got black construction paper and a white crayon and drew their own puppets. With some creative cutting out by me, we ended up with a dinosaur, two monsters, a boy and a boat.


These puppets along with the Three Little Pig puppets led to some hilarious stories. The boys were literally crying they were laughing so hard at their own insane stories. We had monsters knocking on the houses, dinosaurs eating pigs, a boy riding on the wolf's back… and the boys just couldn't get enough. They actually played with these puppets for almost two hours. They are 3 and 5 years old and I said close to TWO hours.


I didn't laminate the boys puppets because they wanted to use them right away and had no patience for the laminator. Even though they were just construction paper taped to a bamboo skewer, they held up just fine without any rips, so clearly a laminator isn't necessary.


This was one of the best activities we've ever done together. Their imaginations were in overdrive and it didn't cost a penny. If you wanted to make it gardening related, you could always cut out Jack and the Beanstalk for your kids to act out in their shadow puppet theatre.

Monday, March 23, 2009

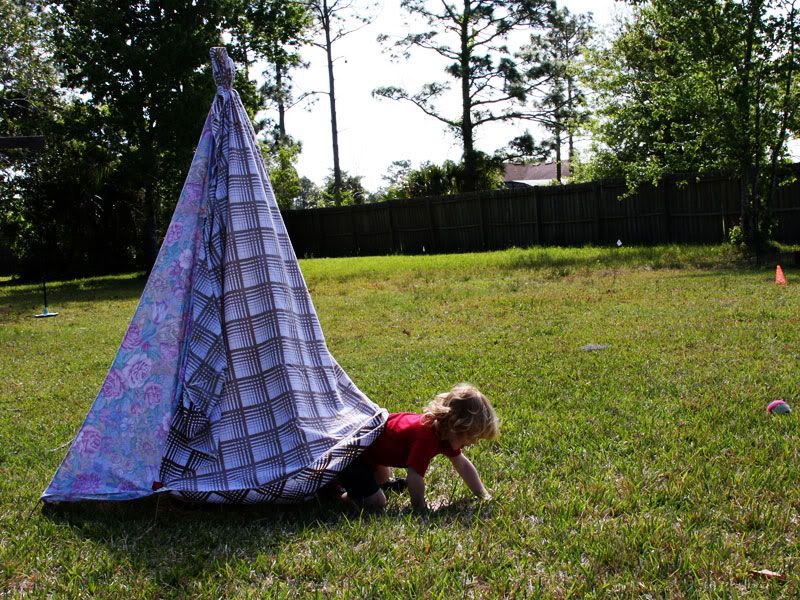
Garden stake teepee

I bought a pack of six bamboo garden stakes for less than $3 at Home Depot the other day to use in the garden when we plant the green beans. Last time I planted green beans they all froze before they got to staking size. The package has been sitting on the patio for a few days just calling to the boys. They've been begging me to play with them, but I know if left to their own devices these would become swords in a heartbeat.

So we got the two fat blue rubber bands from around the broccoli and leeks in the fridge, a handful of chip clips and binder clips, two old sheets and the bamboo garden stakes and headed out into the yard.


We put one rubber band around the ends of the bamboo stakes and spread them out in a teepee shape. We jammed the other ends in the ground. Then we got two old sheets and secured them to the top with the other rubber band and used the chip clips and binder clips to clip the sheets to the poles. Instant teepee. Instant happiness.


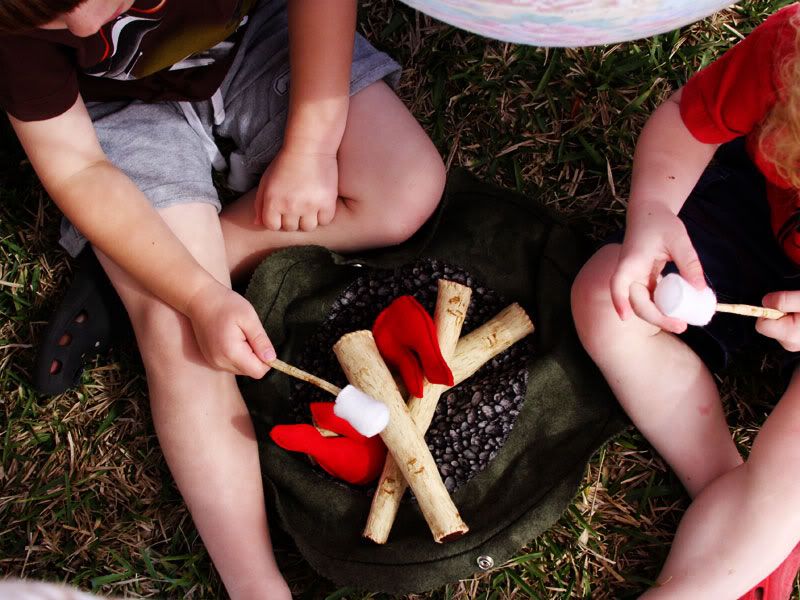
They got a handmade campfire set for Christmas so they tore in the house to get it and cook up their felt marshmallows in the teepee. They had fun for a good hour or two climbing in and out and playing with the teepee…until the dog tried to get in with them. He couldn't find the door so he flattened the whole thing.

But it was good while it lasted. The stakes are now in the garden ready to go in with the green beans next week and the boys are already planning their next fort with the pea trellis that's in the shed.

Thursday, March 19, 2009

For the birds: ornaments & eggshells

We're big on wildlife around here and try to give a little back to the wild things that visit our property. We've even thought about getting a salt lick for the deer that hang out in our front yard. I have no clue why our front yard is like a Motel 6 for deer, but it is. Farmer B often gets home very late at night and he often counts up to 20 deer conked out in our front yard.

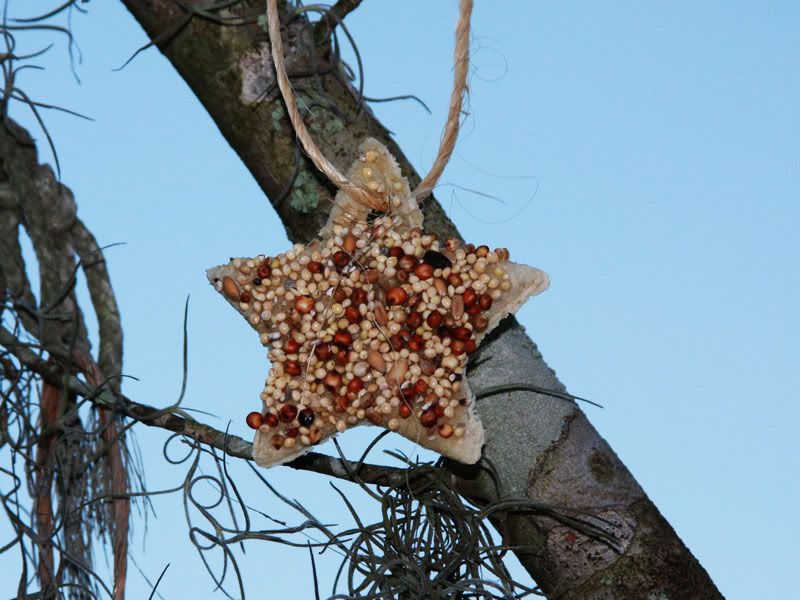
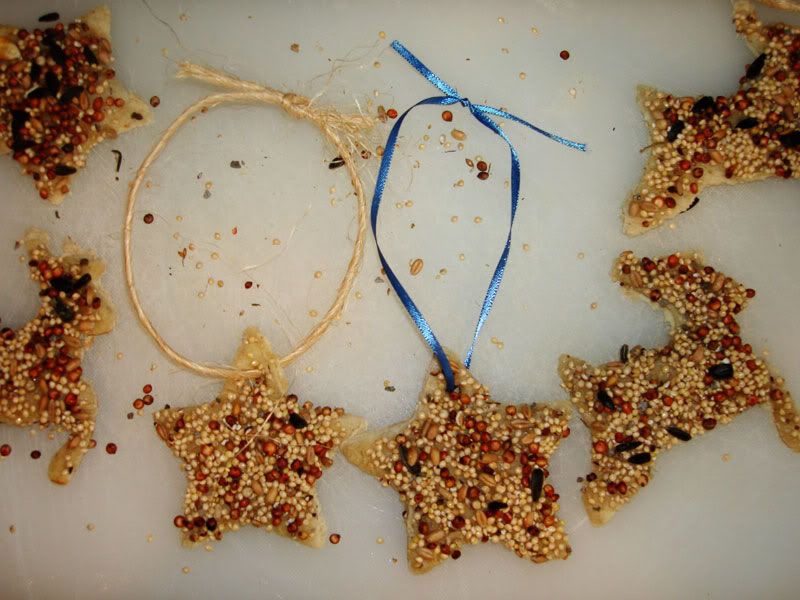
But this isn't about making deer treats - it's about doing a little something for the birds. This is a two-part project to do with your kids that couldn't be easier. Every year we make edible ornaments for the birds in our yard. These photos are from about a year ago, which is obvious to anyone keeping up with the hairstyles of my boys. Aidan looks quite well-kempt in these photos and barely resemblesthe shaggy kid of today.

Here's what you need:

Bread
Eggs
Birdseed
Cookie cutters
Twine or rafia


To make these beautiful bird ornaments you should gather a handful of old bread, or new bread if you're so inclined.

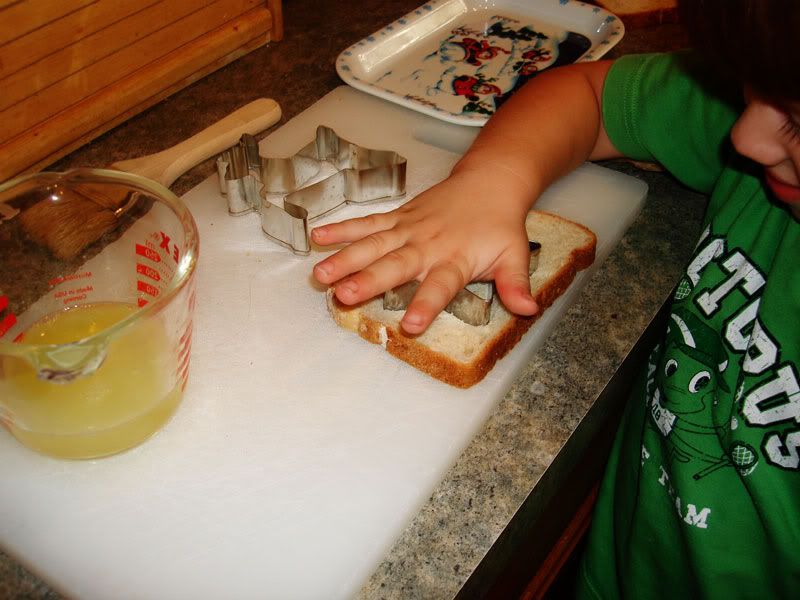
Use cookie cutters to cut your bread into fun shapes. We used stars and deer for our shapes.

Use a toothpick or ice pick to poke a good-sized hole in the top. When they're complete this is where you'll thread the string or rafia though to hang them up. If you forget to poke a hole in some and then bake them and try to use your husband's 3-hole punch to make the hole, nothing good can come from that. Not that I would know. I'm just saying...
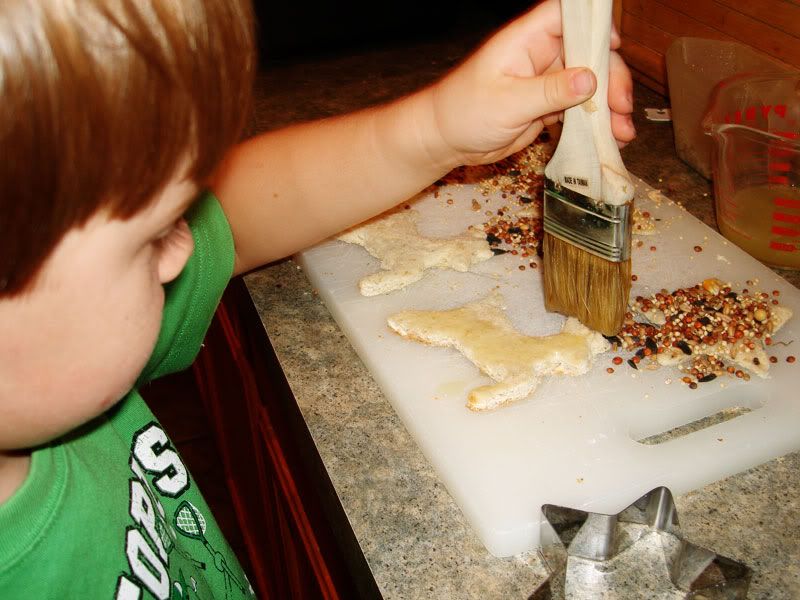
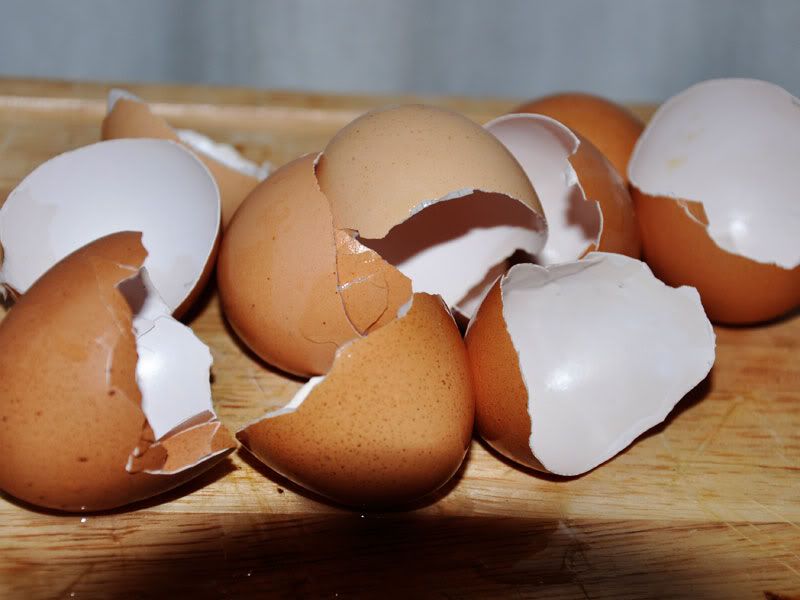
Crack your eggs and discard the yolk. Put some egg white in a bowl and stir it up a bit. Save the eggshells for the next project. Brush the cookies with egg white.

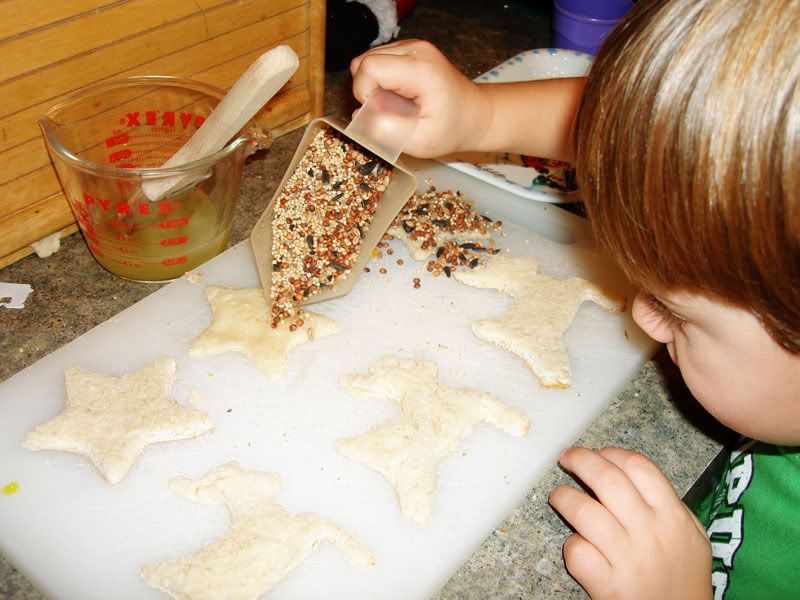
Then sprinkle your favorite bird seed onto the shapes.

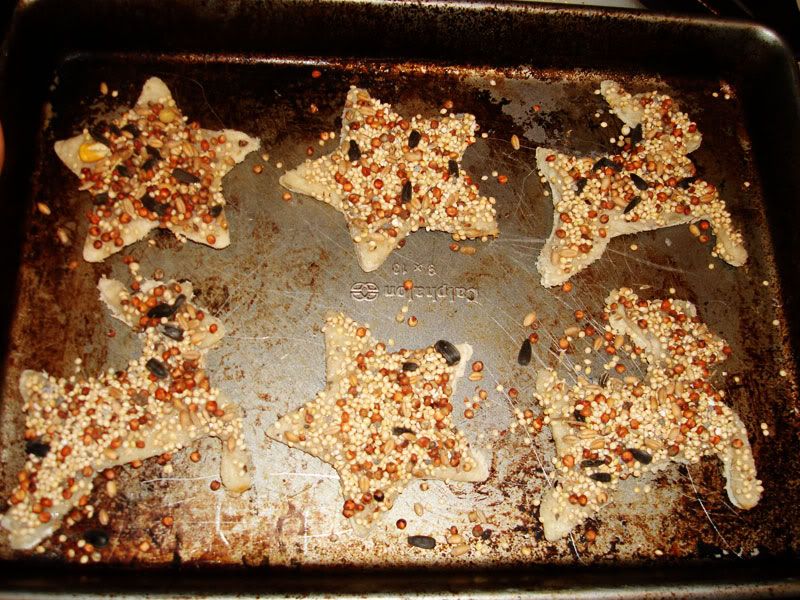
Put the bird seed ornaments onto a baking sheet and bake in a pre-heated 300 degree oven for about 5 minutes. You want them in there just long enough for the egg whites and birdseed to adhere to the bread. This is the crappy old baking sheet we use for craft projects.

As soon as they've cooled, thread some string, twine or rafia through the hole and hang them up around your yard and watch for birds. Do not hang them up right before a rainstorm, as we did once. They go soggy and fall off the twine leaving very teary child-faces staring out the window at the soggy pile of bready-seedy slop at the bottom of the trees. And then don't let your dogs out when the rain lets up because they'll eat the mushy bready-seedy slop, causing even more tears from your kids. Once again…not that I would know about this.

The second part of this is something anyone can do -even normal people that don't spend every waking moment trying to entertain small children yearning for silly craft projects.

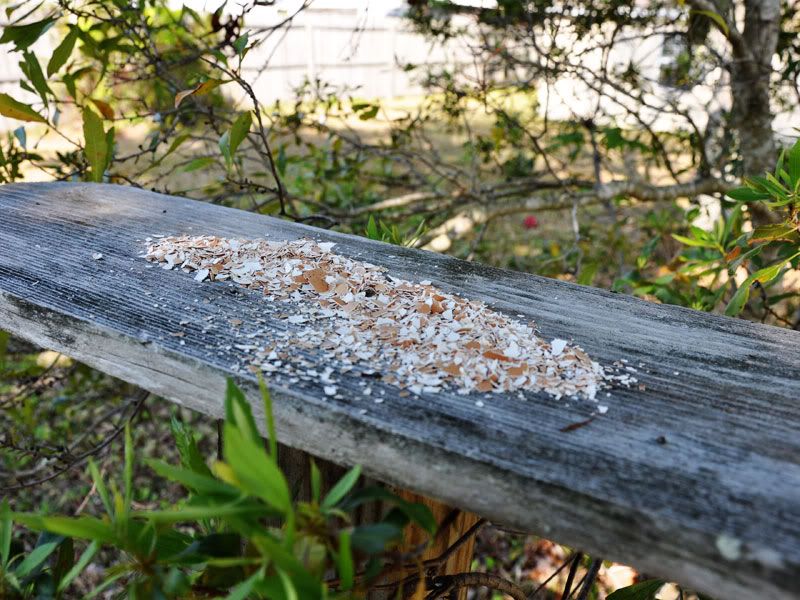
One of the lesser-known ways to attract birds to your yard is by putting out your used crushed eggshells. Female birds who are drained of calcium by egg-laying, eagerly consume them.

Save and rinse your eggshells from Part 1 of this project. If you're feeling squirrelly, save lots of eggshells so you can do a batch at a time like we do.

Bake the shells lightly on a cookie sheet at 250 degrees until dry, but not brown. This sterilizes them and makes them easy to crumble. You can crush them into bite-sized bits and spread them on a patch of bare ground or a platform feeder or even a little bowl on a picnic table. You'll probably find female birds chowing down on this treat after an intense egg-laying session.
Blog Widget by LinkWithin