Showing posts with label getting started. Show all posts

Friday, April 3, 2009

The planting of the Zucchermelons and a garden update

With all the recent talk of chicks, badgers and travel blogs, I've completely veered away from writing about gardening this week. I think the best way to end the week is with a gardening update so that you can see I'm still toiling away in my sad little plot of dirt, even if my blog doesn't reflect it.

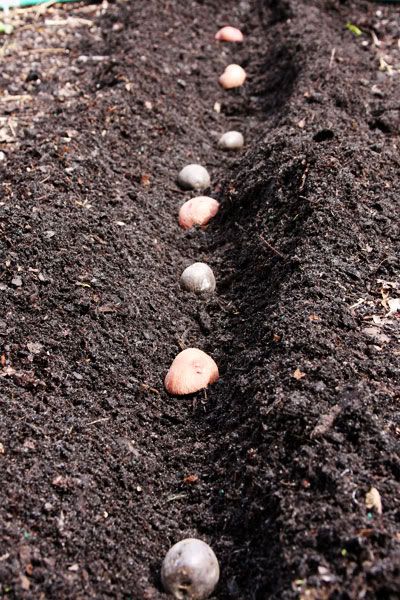
Last week we planted some potatoes and I'm giving them about a 10% chance of turning into potato plants. We couldn't find any seed potatoes around here, so I decided to get some store-bought potatoes and put those in the ground. I had some regular ole' new potatoes and some super funky purple potatoes that I thought would be fun to try. I'm convinced I cut the new potato pieces too small before putting them in the ground and I've heard that people have poor results with store-bought taters, so my expectations are low. It should be obvious by now that the threat of poor results doesn't dissuade us from moving forward with something. So a line of taters is in the garden.

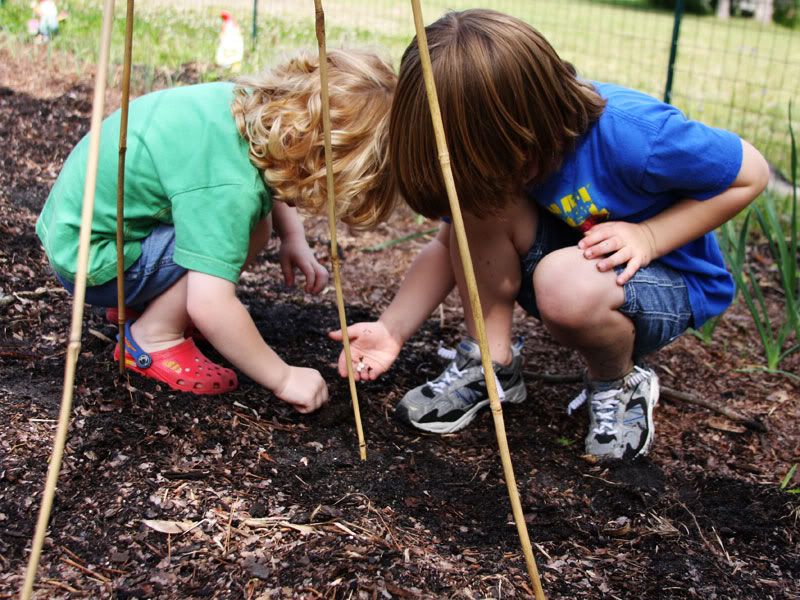
Next the boys and I made a teepee from some bamboo poles and planted some green bean seeds around the bottom of each leg. Aidan was really helpful to his little brother and was very patient while trying to show him where to plant the little beans. I thought it was such a sweet brotherly moment until I heard them muttering to each other about climbing the beanstalk when it grows to see the ogre, so I think it was a self-serving planting experience for them. It wasn't so much to help mom and embrace the gardening experience, but more the chance of climbing to an alternate universe, battling a giant ogre and stealing his gold. Won't they be disappointed when our beanstalks don't grow through the clouds? Won't I be disappointed if the boys try to climb them anyway?

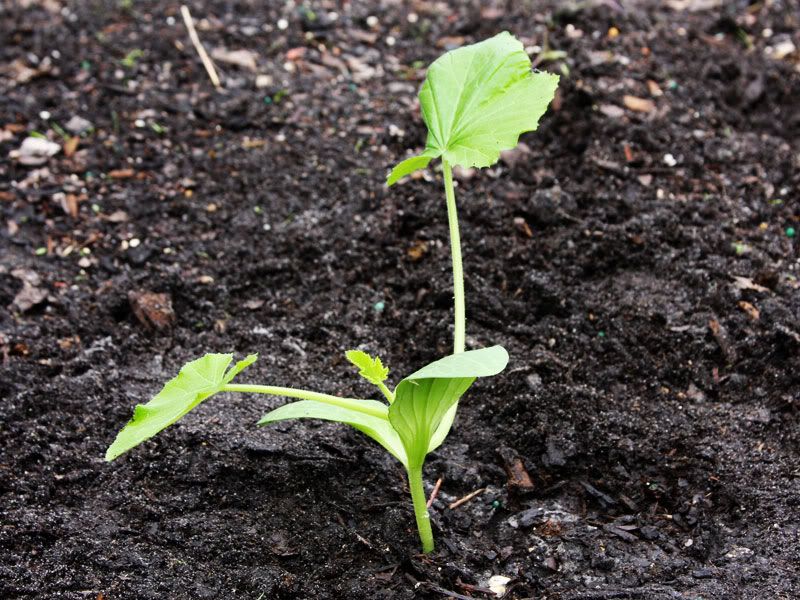
Today I decided that some of the plants I've been growing in little plastic cups on the patio were ready to go in the garden. The paperwork Farmer B picked up from the Extension Office says that when plants get about four "real" leaves on them, they're generally good to go. I found a few watermelons and zucchini seedlings with four nice-sized leaves, so off to the garden they went. If my past is any indication, these seedling should be dead brown sticks within 10 days.
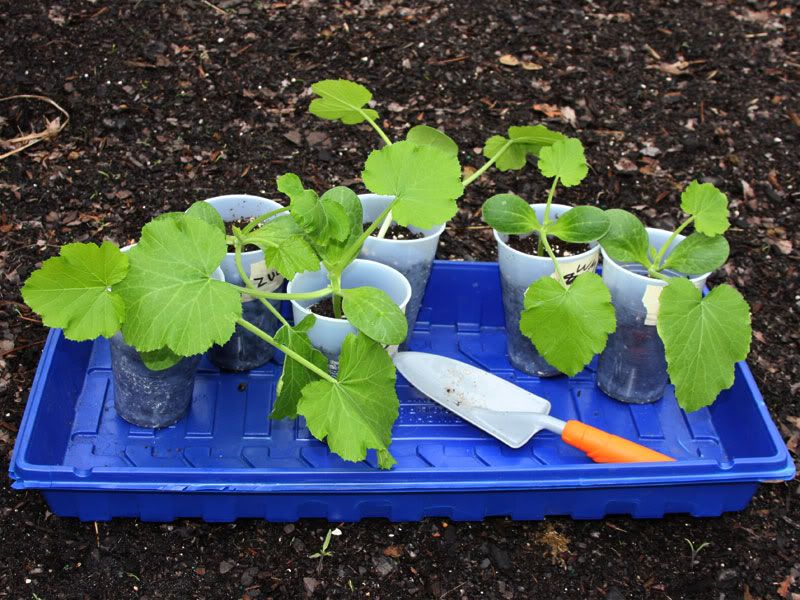

Although… on my way out there I noticed that one of the cups had a zucchini sticker AND a watermelon sticker on it - and one cup had no sticker. I looked at the leaves to distinguish the plants - no luck. So I don't know which plants are which. I'd like to extend a special thanks to my sticker-switching children for this fun moment. So we're calling those two rows zucchermelons, since we don't know if they're zucchini or watermelon.

Finally, I was feeling up my tomato plants in the garden and noticed something weird going on with the bottom leaves on my two beefy plants. I have two beefy tomato plants and one small one - the rest are still teeny-tiny seedlings on the patio. The bottom leaves have sort of a yellow variegation in them and are a bit curly - not super curly, but the edges are curling up. The top 3/4 of the plant looks completely normal.
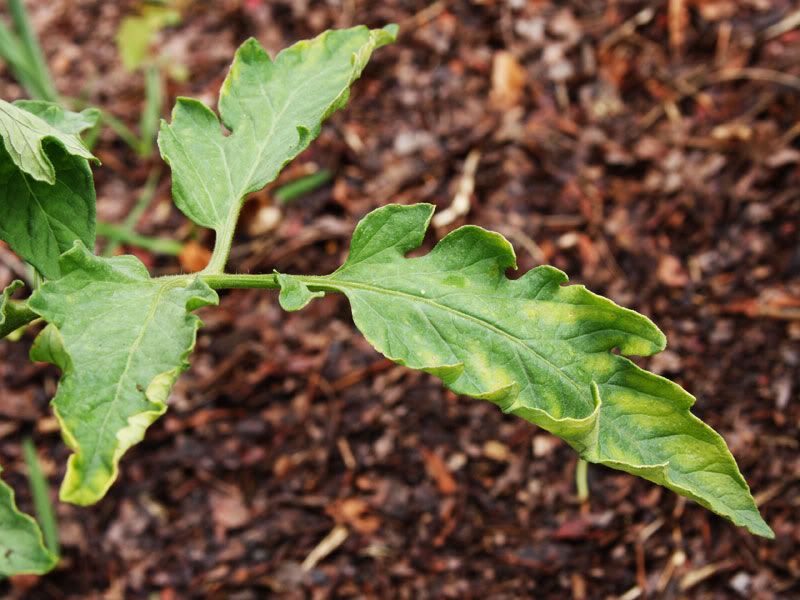

I looked this up online and it turns out that almost every tomato malady involves some sort of yellowing and leaf curling. Once again, I don't know what to do to fix this mystery. One of my major gardening Achilles Heels is having a problem and not being able to diagnose it by looking at pages in a gardening book. Hopefully I can figure out what is going on with my tomato plants. They both have nice yellow flowers on them, but the bottom leaves must be indicating a problem.

So there you have it. Turns out I can fight off a vicious badger and still find time to play in the garden too :o)

Friday, March 27, 2009

Diving Headfirst into Compost

I've always admired people who compost. It seems so green and earthy and a necessary element to have under your "green living" belt. When you're laying your "green lifestyle" cards on the table, it's hard to show your hand without the composting card sitting happily between the homemade cleaning products and reusable grocery bag cards. But I'll admit to always being extremely intimidated by composting. Having a rotting pile of food in the yard seems like such a bad idea, but so many people pull it off that there has to be something to it. I'll also admit to not understanding the layering and watering necessary for a successful compost. Oh and I have a huge phobia of maggots and I am just so sure that a pile of trash will somehow equal maggots. All of this caused us to remain a compost-free household, up until this past weekend.

I've been teetering on the compost idea since we started gardening. Compost is good for the garden and unless we keep driving to our friend's house for a trash can full of horse poo, we knew we'd have to come up with something ourselves. The thing that just tilted the decision in favor of composting is our soon-to-be chicken addition. We have to do something with all that chicken poo. I keep hearing over and over again to just add it to my compost pile for some nitrogen-rich garden yumminess.

I knew that having an open compost pile would not be an option. I have small children and a very curious dog, so having an open bin was out of the question. Then I eyed up the barrels that you can buy to make composting easy for suburbanites, but the high price put those out of our league. I searched online and found many sites explaining how to make a compost bin out of a garbage can with a tight-fitting lid. This was right up our alley.

We happen to have a brand-new trash can that Farmer B bought for horse poo retrieval and I figured this would make the perfect compost bin since we won't need horse poo anymore if this all works out. And if it doesn't work out, we can still use the holey garbage can for yard waste.


I grabbed Farmer B's power drill and put the wrong drill bit on it (FYI - a drywall bit works even though the man in your life might tell you it's the wrong drill bit for the job, thank you very much) and just drilled finger-sized holes all over the can - about every 6 inches or so. I read that it's important to put holes in the bottom of the can too. You should elevate your can on some attractive cinder blocks like we did, or you could always be crafty and build a little platform for it out of wood. Some people say you can even put a tray under your bin to catch the compost drippings for your garden. We're not doing that because I know it would become the sole source of water for the dog.

I keep reading about the brown/green ratio necessary for successful composting. Apparently you put a layer of brown, like leaves, chipped branches, brown paper and mulch and then a layer of green, like your kitchen scraps or grass clippings, and then wet the whole thing down and repeat. You avoid anything meaty if you want to keep it from smelling vile. Every week or so you should tip the can over and roll it around your yard to mix up the compost, then roll it back to its perch and repeat the process until at some point you have compost. This is why you need a tight-fitting lid and a bungee cord to ensure it doesn't bust open.


To get started, I threw a bunch of garden soil in the bottom of the can because I read somewhere that soil is a good start if you don't have sawdust. Then I tossed in some mulched-up leaves. I have yet to figure out if a "layer" is 1/2 inch of "stuff" or 5 inches of "stuff." After those layers, I've been tossing in my leftover raw fruit and vegetable peelings from the kitchen. Finally - because the internet told me to - I ripped up some newspaper and put that on top and sprinkled the hose on it too.

I went out there today to add some more kitchen waste to the pile and when I opened the lid a veritable army of fruit flies came swarming out at my face to attack me. That was so delightful. I read online that fruit flies are to be expected if you have rotting fruit in the bin. I tossed in my kitchen waste and then added some more leaves and put the hose on it all again. Once again - do I hold the hose on it for 5 seconds or 5 minutes? I have no idea. I've read that your compost pile should feel like a damp sponge. Who are these people who are digging their hands in this crap and comparing it to sponges? Blech!

It's funny. I have no natural feel for gardening or composting. But I feel quite confident with raising animals and kids. Let's hope when these little chicks appear next week that I'll do something right. I've never had chickens before, but yet I feel confident that I can pull it off. I don't feel so confident that I can make compost out of the crap in that trash can.

Tuesday, March 24, 2009

Nursery School

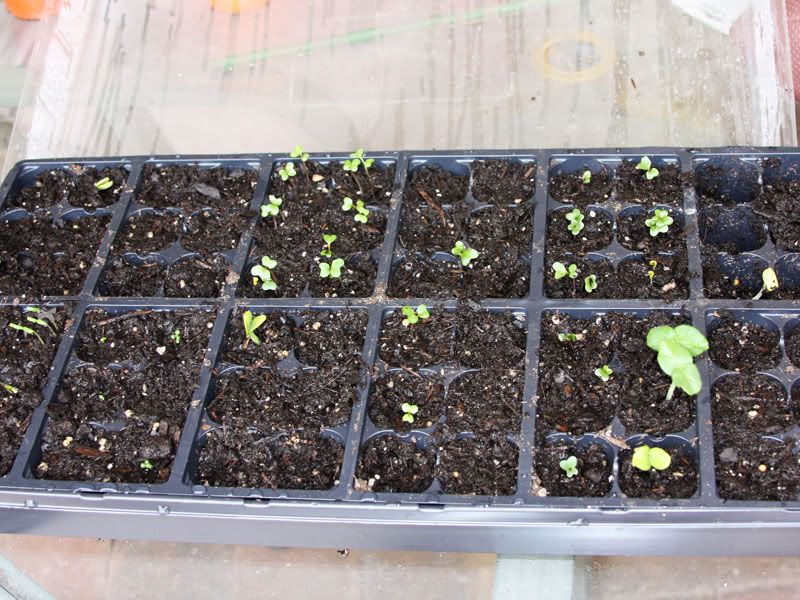
Our seedlings in the little seed starting greenhouse actually sprouted, so the boys do not need to be my scapegoats after all. Now that things actually sprouted, I'm taking full credit for it. It should be no surprise to you that I had not planned for what I'd do after the seedlings poked through the soil. I learned that they need to go into a larger container pretty quickly because their leaves smash up against the plastic lid within a day or two of their first appearance.


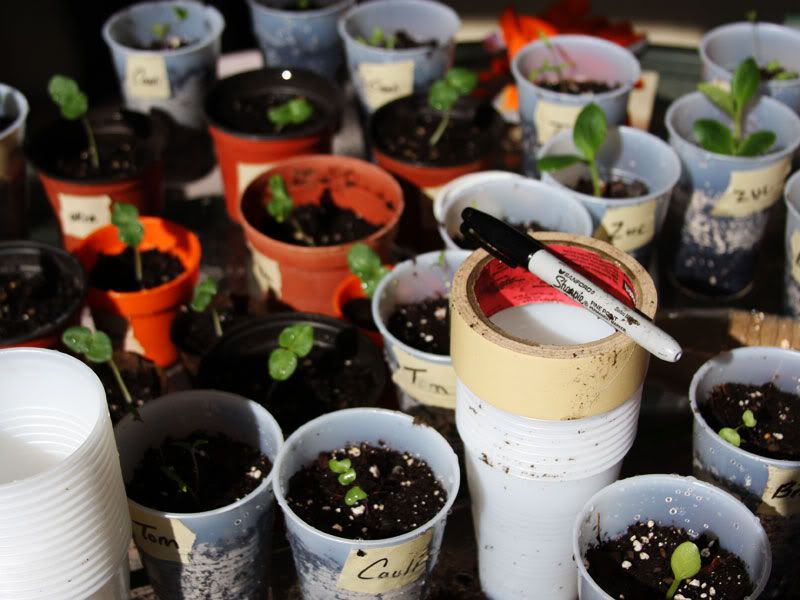
I grabbed some leftover pots from recent landscaping plant purchases and then rummaged through the recycle bin for some yogurt cups to house our seedlings. I jammed a steak knife into the bottom of the yogurt cups and twirled it a bit to create drainage holes. I transplanted all of the okra and some of the broccoli into the bigger containers and then ran out of containers.


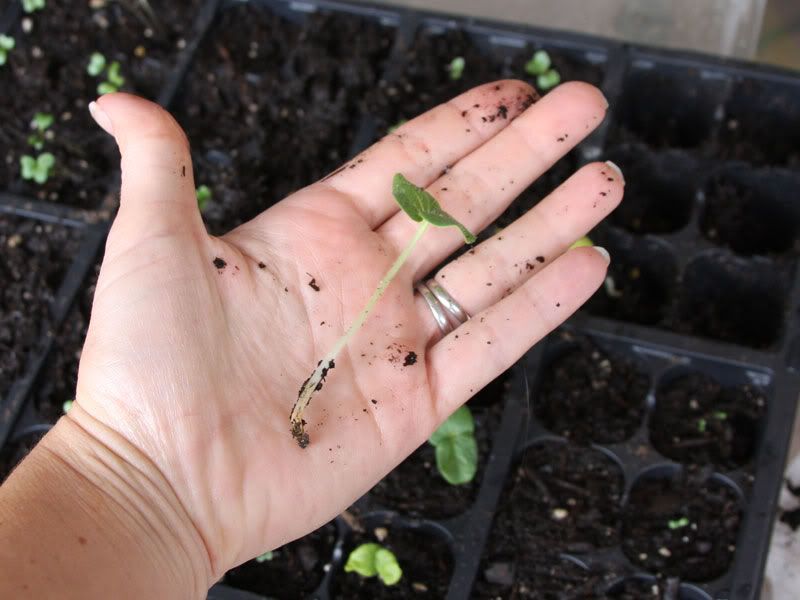
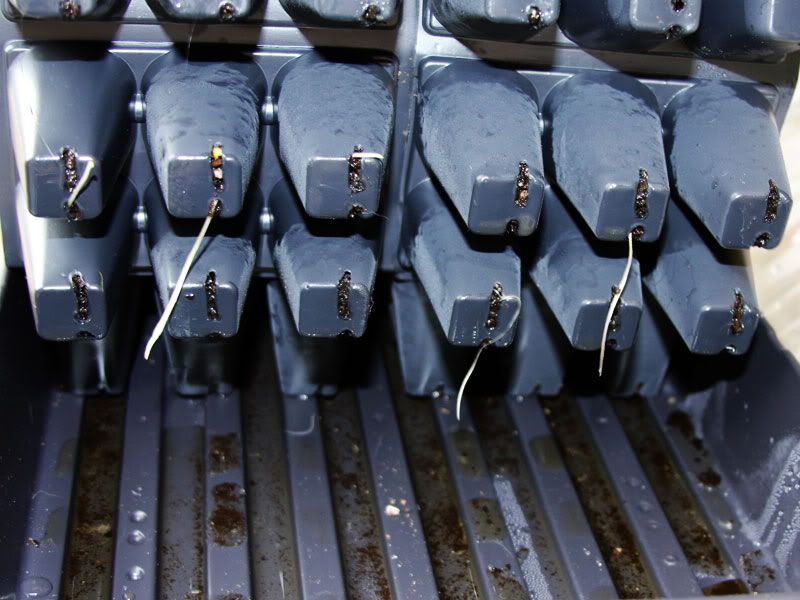
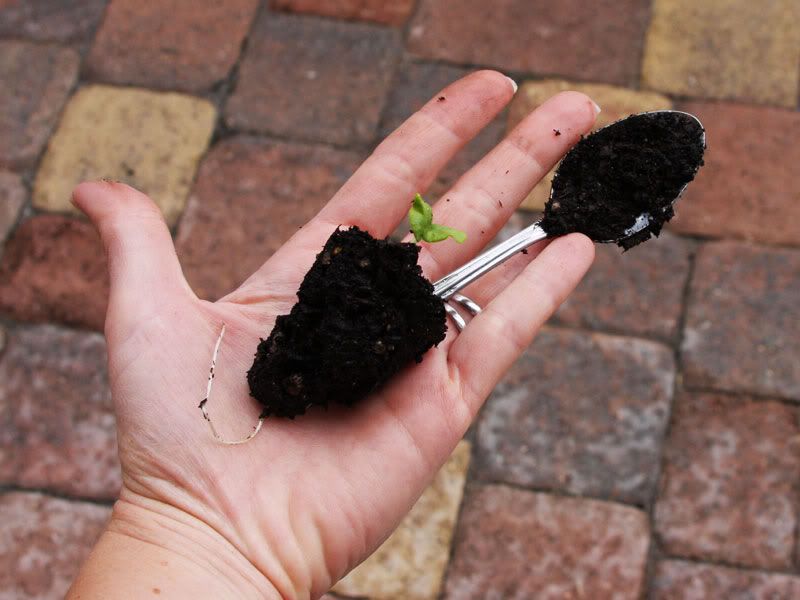
Getting the seedlings out of their tiny pots proved problematic. I used a spoon from the kitchen to sort of scoop them out. The problem was many of them had already grown very long roots that were sticking out of the bottom of the tray. I was just grabbing them out before I noticed they were coming out rootless - that's when I discovered the long roots and was a bit more gentle with subsequent seedlings. No one told me they'd have such long delicate little roots so fast. That was not in the gardening book.


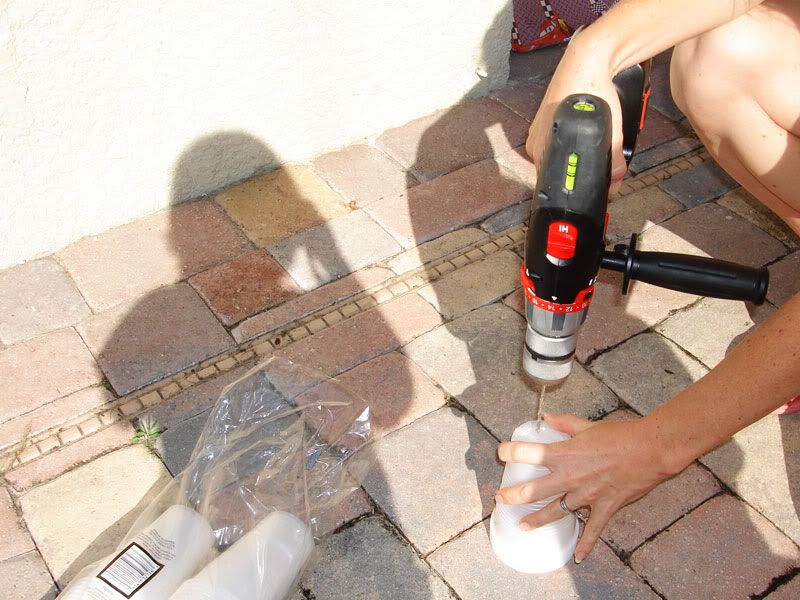
When I needed a cheap idea for more mini-planters, my friend EG recommended drilling two holes in the bottom of some cheap plastic cups and using them for my seedling planters. This seemed like a great way to save money so I was all over it. They'll be reusable too so I got over the guilt of buying plastic.


(See my little budding photographer's shadow? He's a natural)


I also learned that labeling the pots is essential. If you're not a skilled gardener you cannot recognize an okra from a broccoli from a watermelon. They're all small green leaves to me. I grabbed some masking tape and a Sharpie and labeled all the pots. Not long after labeling them I discovered my boys wearing Okra masking-tape stickers on their arms. I'm sure I re-stuck them on the right pots.

Tuesday, March 17, 2009

It's the Final Sproutdown!

After my not-so-hot first time planting experience last season, I decided this time around that buying a lot of seedlings for the garden was both too expensive and too depressing to make it worthwhile. It's expensive because it's about $2.50 to $5 a seedling and you need quite a few to fill up a row. And it's depressing when every seedling you buy wilts and dies within 10 days. Been there, done that. Don't want to do it again.

I decided that I'd buy just a handful of seedlings this time around and try my hand at starting more things from seed. Last time we did great sewing seeds directly in the garden even though many of them died before producing anything. This time I thought we might have even better luck starting the seeds indoors and then transplanting lots of seedlings. It just feels more economical to try it this way and I feel that with our garden there's safety in numbers.

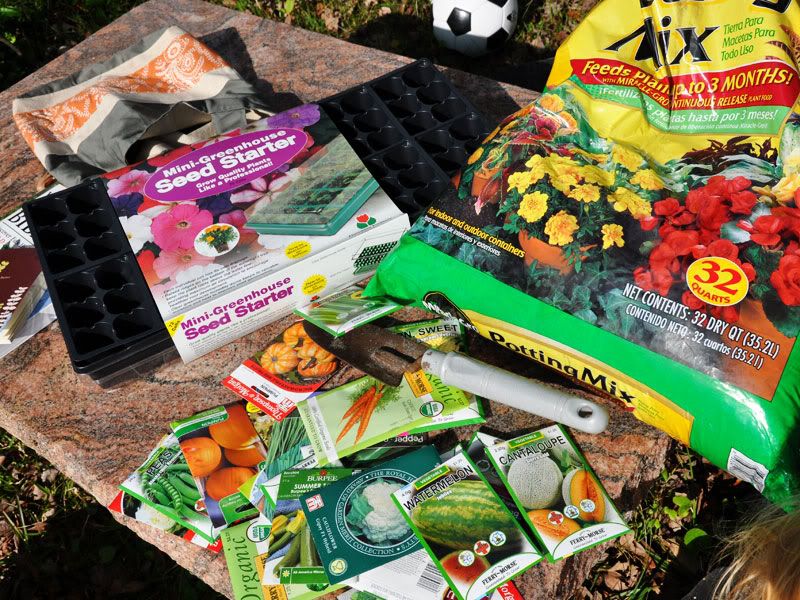
I found a little mini-greenhouse seed starter kit at our local hardware store for under $5, so the price was right for this experiment. The directions were touted as simple enough for a child to understand, so it was perfect. It said to add a special seed starting mix to each little pot, so we filled the little pots with Miracle Grow potting mix because that's all we had on-hand.


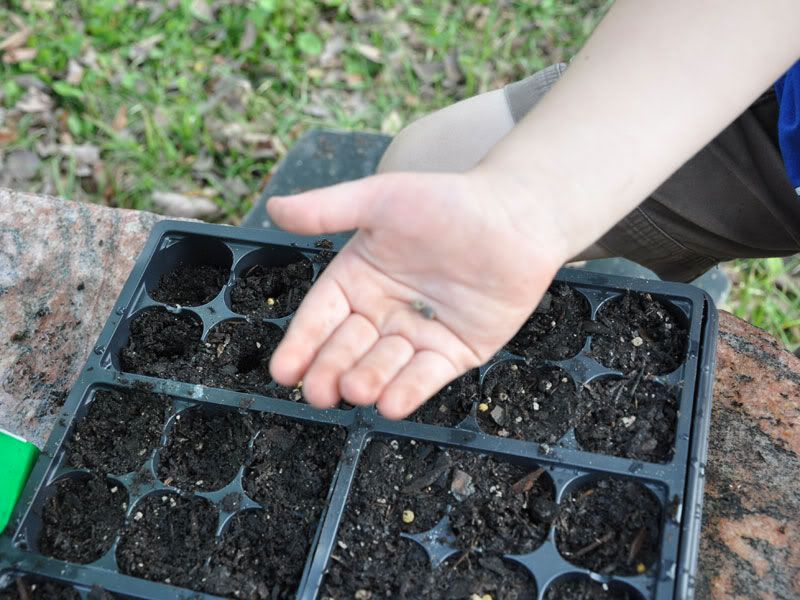
Then it said to make a hole and drop two seeds in each hole. I cannot wrap my head around why you put two seeds in one hole. But we followed the directions - reluctantly.


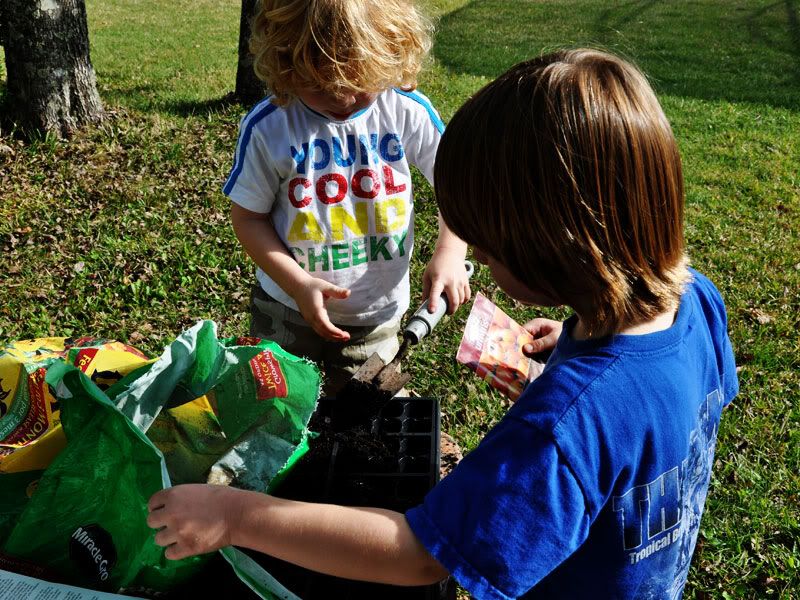
We got a big stash of seeds and read the backs to find out which ones can be started indoors. I let the boys pick out which ones they wanted to try. This involved them in the gardening process and gave me two scapegoats to lay the blame on when this little seed starting gig doesn't work. I can call it the "children's project" and just roll my eyes at their inexperience when nothing sprouts. I'm not above this.


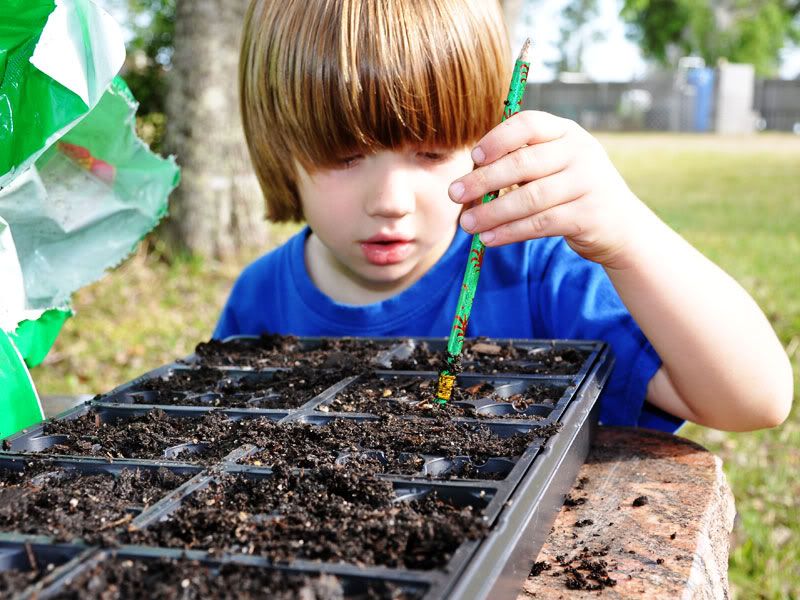
So after packing the little pots, we grabbed a pencil to make holes in each one somewhat close to what the backs of the seed packaging suggested. Then we started planting two seeds in each hole.


There are 12 little sections with 6 pots in each one. We chose 8 different types of seeds - Zucchini, cantaloupe, broccoli, watermelon, cauliflower, okra, tomatoes and lettuce. Then we were left with 4 empty sections. I divided these sections up into 8 rows and decided to see what would happen if we only planted one seed of the above-mentioned types in each pot since the two-seeds-per-pot nonsense bothered me. Is there any question as to why we can't grow things? I doubt everything I read.


I discovered that it's essential to make a little chart in a notebook to record where each seed type was planted. And then it's even more essential to put a sticker somewhere on the seed starter kit showing where at least ONE of the seed types is planted so you can figure out which way up the thing goes when you're referring to your chart in your notebook.

Then we watered them and put the top on them. The directions said to put them under a light, keep the soil wet and wait for life to blossom. So I stuck them on the patio since we have sunlight out there. I can't imagine they'd be better in the house than on the patio, so that's where they're living. We're crossing our fingers that at some point something sprouts.

Friday, July 4, 2008

Tilling Complete

Today was an interesting day. I definitely learned a lot even if our garden doesn't look much different. Farmer B went outside with the boys to finish tilling the garden so that we could put down all of the topsoil that we bought. It turns out that there were a ton of large rooty dead stick things under the ground that made the job quite laborious, although the dog quite enjoyed all the stick chucking going on. The garden is now successfully tilled, but the topsoil is still in the trailer. Here are some of the things I learned today:

1. It can take four outfit changes before Farmer B feels that he's wearing appropriate apparel to garden AND be photographed. This caused me to laugh until I cried and suggest we call Tim Gunn for tomorrow's outfit suggestion. Tomorrow's ensemble? A knotted neck scarf and a ferosh pair of pin-striped capris and galoshes? Stay tuned.


2. The boys have never seen a garden worm before. We found one. It was very gross. I was sure it was somehow poisonous and could possibly try to burrow into your skin if you touched it. I don't know the difference between a nice happy garden worm and some parasitic poisonous beastie, so we poked at it with a stick and let it crawl away. I am yet to be one with nature.
3. A large german shepherd can till and loosen soil with his front paws quicker than any gas-powered lawn tiller.
4. If you wear a white fitted tshirt and your new denim short-shorts to garden, there is a good chance your husband will accuse you of not wanting to get dirty and not being serious about the garden. He's right about half of that - I am very serious about the garden. Note to self: Must do more wardrobe changes tomorrow.


5. In July in Florida it is apparently too hot to work outside after about 10 a.m. We got started at about 9:45 a.m. This explains why the topsoil is still in the trailer and two of the three boys are napping right now.

Thursday, July 3, 2008

It's all Happening Now!

We took a big step today. We started the garden. And by "we" I mean my husband, of course.


We measured out a 10 x 20 area in the yard near the well for easier irrigation and because that's what the gardening book told us to do. Then the hubby (we'll call him Farmer B) took the oldest boy to buy 3 yards of organic topsoil and 3 foot high fencing for the perimeter. Living in FL we have this horrible sandy soil, so we'd heard that buying topsoil was the way to go - and we need all the help we can get. We have two young boys who like to dig and a dog with an obsession with dirt, so the fence is to keep them out - and any yard critters who want a midnight snack. We have armadillo issues in our yard and the periodic bunny, so we'll see if they can get through our fence.


Farmer B then got our new Honda Mini-Tiller and tilled the grass. I do wonder if this garden was just an excuse for him to have another gas-powered man tool. We went back and forth over whether we should remove the grass or till it into the soil. I figure that if (when) this is a huge failure we might be able to leave it alone and let grass re-grow there so leaving the grass seemed like a good idea - and it was less time consuming for Farmer B in the 90+ degree heat. It looked like less work to me from the air conditioned comfort of our living room. We have no idea if we have too much topsoil - or what stops it washing away once we dump that trailer-load of dirt on the garden and our summer monsoon-like rains hit that thing. Maybe we'll look into 2 x 4's or railroad ties?


So today was a good start. We have no idea what to do next.

Friday, June 27, 2008

To Start a Vegetable Garden


Like most families these days who are trying to live a little greener, my husband and I try to come up with as many ways as possible to tread lightly, go organic and save money. We've been toying with the idea of starting our own vegetable garden for awhile now, but we have one huge problem: We have no gardening skills. My mother bought us an orange tree several years ago. It sprouted a few juicy oranges the first year...then our non-existant skills came into play and it's been black and withered ever since (see photo). We live in Florida. Orange Trees should grow like weeds. In the front of our house we have a couple of pots of dirt and sticks that used to be plants. I'm at the point that I feel guilty picking out a plant from the garden center because I know that its death sentence was just written.

So here we are planning a garden. I had planned on a small garden to test the waters. My husband goes big with everything... so we are in the process of planning out a good-sized back yard vegetable garden. I have these fantasies of a gorgeous garden alive with bees and hummingbirds while tomatoes, potatoes and squash are bursting at the seams. I imagine mint and lavender scents drifting through the yard. But I know better. I fear a dreadful failure. I fear a large dirt rectangle that becomes a favorite place for the dogs to dig, the kids to play and never ever sprouts a single plant. This blog will document our path toward creating our first home vegetable garden using no inate gardening skills - just books, websites and the advice of friends. They say that humans are at the top of the evolutionary food chain because we have opposable thumbs - can a garden be successfully created by two people without opposable green thumbs? Wish us luck! We're sure to need it.
Blog Widget by LinkWithin