Showing posts with label recipes. Show all posts

Monday, May 24, 2010

Make this Granola - or else!

As you may have gathered from my Earth Day post, we try our best to make as many things from scratch as possible. We're by no means hard core, but we do make an effort to avoid processed foods and boxes of junk from the grocery store shelves. Since watching The Future of Food and Food Inc., and reading a couple of Michael Pollan's books (namely The Omnivore's Dilemma and In Defense of Food, which I'm reading now) Farmer B and I have become really squiggy about corn and HFCS. It's really turned us off these boxes and bags of processed corn disguised as food. This has us particularly uncomfortable around boxed cereal. The affordable stuff is just corn in a costume with a heavy dose of HFCS and the good stuff is so pricey it's unrealistic for a family of four.

A year or so ago (maybe longer?) I found this great granola recipe and I've been making it on and off ever since. I wish I remembered where exactly I found the recipe, but it's been so long that I can't remember. I don't pretend that it's my creation, but it has become part of the regular recipe rotation around here.
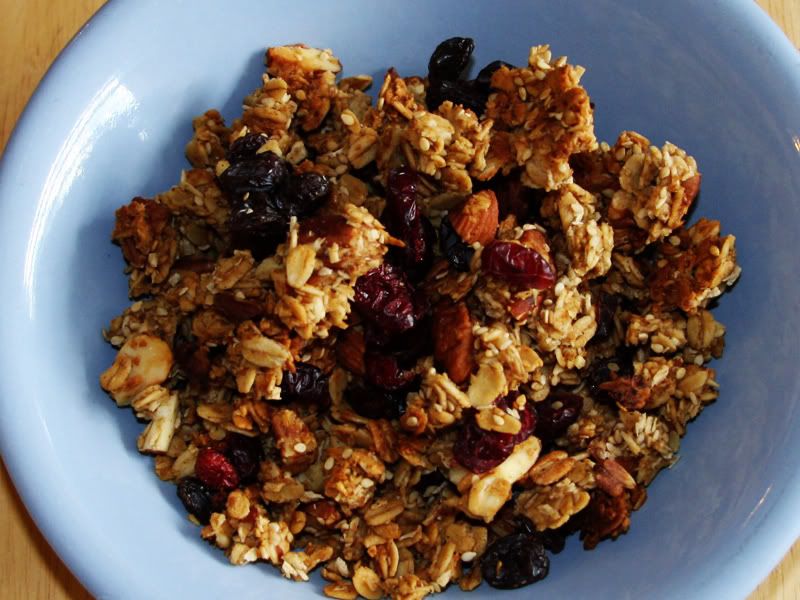

The first thing you should know is that this recipe makes a lot of granola. Don't be tempted to halve it. You'll regret it and wish you'd made the full recipe. I weighed it once and it comes to about five-and-a-half pounds of granola - depending on how crazy you get with the nuts and dried fruit.

Here's what you need:

HOMEMADE GRANOLA

10 cups old fashioned oats
1/2 cup wheat germ
1/2 cup milled flax seeds (I don't use this)
1/2 lb unsweetened dried shredded coconut
1 cup sesame seeds
1 1/2 cups slivered almonds
1 1/2 cups chopped pecans
1 cup brown sugar substitute (regular brown sugar can be used)
1 1/2 cups water
3/4 cup canola oil
1/2 cup honey (local or organic is best)
1/2 cup sorghum or molasses (I use molasses)
1 1/2 teaspoons salt
2 teaspoons cinnamon
1 tablespoon vanilla
2 cups dried fruit (combination of raisins, blueberries, cranberries)


Preheat oven to 300 degrees.
In a large bowl combine oats, wheat germ, flax seed, coconut, sesame seeds and nuts, mixing well.
In a large saucepan, combine the brown sugar substitute or brown sugar, water, oil, honey, sorghum, salt, cinnamon and vanilla.
Heat until thoroughly mixed; do not boil.
Pour the syrup over dry ingredients and stir until coated well.
Spread onto three large cookie sheets. (You want to sort of smush it down and keep one even layer.)
Bake 10 minutes, then move each sheet to a different shelf in the oven. (Keep repeating this process until you've baked the granola about 35-40 minutes. I take mine out when the edges just start to brown).
Cool mixture and add dried fruit. (You MUST let it cool completely on the pans. Don't stir it up until it's cool if you want chunkier pieces).
Store in airtight container in a cool dry place. (It will become crunchier as it cools.)
Will keep up to 6 months. Lasts about a week around here.

The first important thing I learned about this recipe is to buy some of the ingredients at our local natural foods shop instead of the grocery store. You can buy a tiny little 1 oz container of McCormick sesame seeds for $2.99 at our grocery store, or I can go to the bulk bin at the natural foods store and buy an entire cup for about $1.50. The unsweetened dried shredded coconut is also impossible to find at our grocery store but Bob's Red Mill coconut is very affordable at the natural foods shop.


The original recipe said you should stir the granola every few minutes too. I prefer the texture if I don't stir it - I get larger crunchier chunks, which we love. But it's up to you. Oh, and I line the pans with parchment paper so I don't have to worry about any of it sticking to the pans.

I have also made this recipe with 1/4 cup molasses and 1/4 cup real maple syrup, which turned out great. I plan on trying it with all maple syrup and no molasses sometime. You can change out the nuts and fruit to change up the flavor of the granola too. Try dried cherries and blueberries one time - then Craisins and raisins the next time. Substitute walnuts for pecans for a change also.


Farmer B inhales it by the bucketful. Both of my boys can't get enough of it (even that picky younger one of mine in the picture) and it's beyond filling. I love it with Vanilla Almond milk on top since I can't have dairy. We end up storing it in about 3-4 large Tupperware containers and I'm embarrassed to say we occasionally go through this much cereal in just over a week.

So there you have it. Make your own granola and stop relying on the boxed junk from the grocery store. I'm sure you'll love it!

Thursday, April 8, 2010

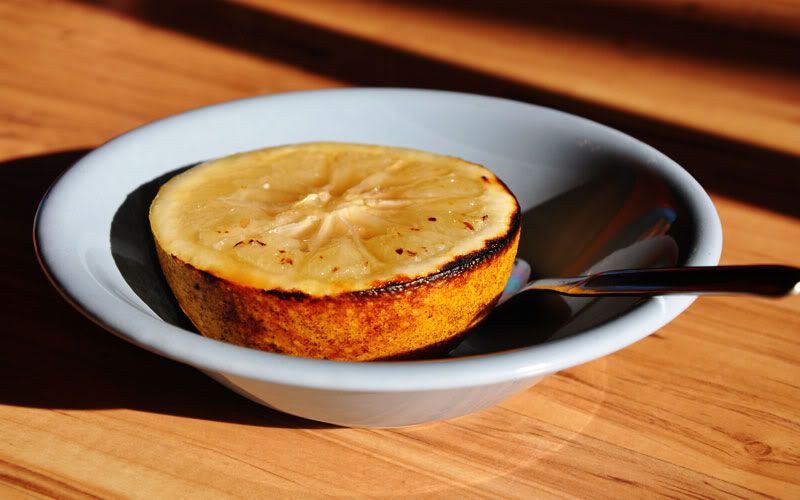
Broiled grapefruit for brekkers

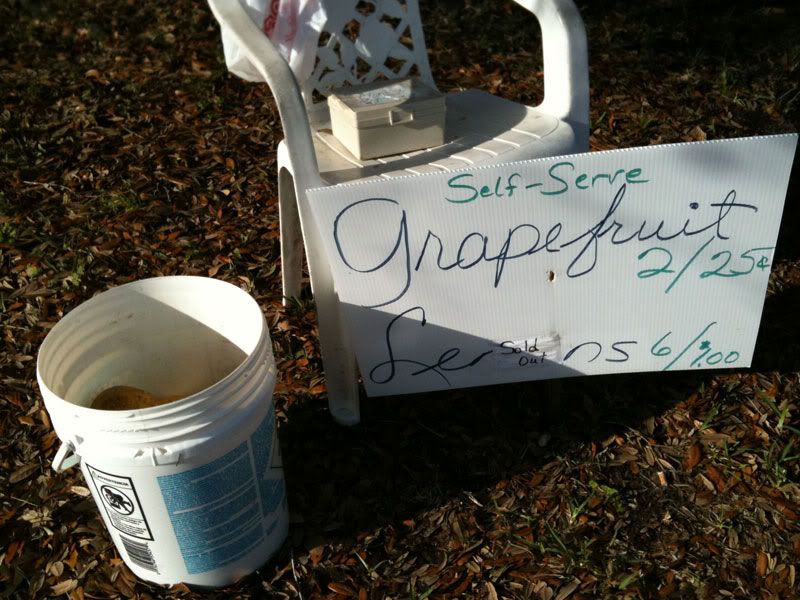
I do love Florida citrus and I really love a good grapefruit. There's an older couple with a nice sized grove up the street and when it's in season we buy our oranges, marmalade, pomegranate jam, lemons and grapefruit from them. Right now they're selling 2 grapefruit for 25 cents. How can you beat that?


I came home with an enormous sack full of grapefruit the other day when Farmer B started reminiscing about the toasted grapefruit that his mother used to make them on cold mornings.

I instantly recoiled. Warm citrus? Hot citrus? Cooked citrus? Blech. But then late one night he was at work and the grapefruit pile was staring at me and I thought I should give it a shot. Afterall, I'll try almost any food item once.

I followed his instructions along with some I found online and the hot, soupy beast emerged from the oven.


I smelled it and was intrigued. I ate it and I was hooked. I now spend my days hovering around the broiler jonesing for my next hot grapefruit. I'm going through about two grapefruits a day at this point - one for breakfast and one for a late-night dessert.

If you want to try it, here's the super simple instructions.

Boiled grapefruit


Put the oven broiler on while you cut the grapefruit in half. Remove the seeds and cut around the little walls and edges.

Sprinkle the grapefruit with brown sugar.

Place it on an aluminum foil-lined baking sheet and put in the oven on the middle shelf and broil for about 6 minutes.

Then move to the top shelf for about 60 to 90 seconds - watch this step like a hawk. You don't want blackened grapefruit - you just want a bit of stylish singeing on the edges.

Remove and enjoy.

Friday, June 5, 2009

When Gardening Makes You Hungry :: British Comfort Food

Did you know that pulling up a garden full of plants can make a girl hungry? And when it does, there's nothing like some good old-fashioned comfort food to put a smile on your face and an extra fat roll on your bum.

I've been craving real English Sausage Rolls and decided to whip up a batch last night. I'm so glad I did. They're so close to the "real" thing that they're a perfect stand in when I want the taste of home. You can use fresh sage from your garden in the recipe if you want a really authentic taste to it. I have killed two sage plants in my garden and am determined to get one to grow at some point because sage is such a staple in many British recipes. Sage is a member of the mint family and since I have a mint bush the size of Godzilla I feel like I should be able to grow sage. Nevertheless, you can use dried sage if you want, or if you're a complete freak of nature, you can always omit the sage completely.

I thought I'd share this sausage rolls recipe because I think British food gets a bad rap. Anyone that balks at British food has never been to a village pub for a good pub lunch or savored a hand-made Scotch Egg, Cornish Pasty or Yorkshire pudding smothered in gravy. Real British food is some of the best-tasting food in the world and I'm determined that my boys will grow up with a taste for some of the classics.

On to the recipe. It's not-quite authentic because I don't make my pastry from scratch. However, I'm on a mission to find a good pastry recipe that's slightly healthier than the one in my 1972 Edition of the Yorkshire Women's Institute Cookbook, which seems to insist on a lot of lard in all of its pastry recipes. Until then, it's store-bought. But it'll do.

Almost-authentic British Sausage Rolls


INGREDIENTS
:: 1 roll of pork sausage. I use Jimmy Dean Sage-flavored Pork Sausage.
:: 1 box of puff pastry. I'm partial to Pepperidge Farm.
:: A bunch of good-sized breadcrumbs. You don't want the little tiny ones - you want Panko sized breadcrumbs. You can also buy some Sage and Onion dry stuffing cubes and bash them up with a rolling pin if you want. I used Panko breadcrumbs this time around.
:: One beaten egg.
:: Some sage (dried or fresh) Freaks of nature can leave this out.

DIRECTIONS
Thaw your puff pastry according to directions. It unfolds along two folds so it will look like you have three large rectangles per sheet. Use a pizza cutter to cut along the folds so you end up with 6 long rectangles of puff pastry.

Mix your pork-sausage in a bowl with a heaping amount of breadcrumbs. I'm not sure exactly how many breadcrumbs you want, but it's a good amount. It's about 3/4 cup, I'd say. My mom, who is one of the finest British cooks around, says that you want enough breadcrumbs so that the sausage isn't tough, but soft when bitten into, and enough to soak up any grease so you don't end up with greasy rolls. Sprinkle on some fresh or dried sage to taste and mix it in too. Sage has a strong flavor, so if you're not a huge sage fan, keep it light.

Grab one rectangle of pastry and lay it out in front of you. Get a handful of pork sausage and shape it into a long log o' pork in the middle of the pastry. It should go from end to end right down the middle of the pastry. You want about the circumference of a good sized hot dog.

Use a pastry brush to paint a line of egg down the bottom size of the pastry.

Get the top edge and fold it over the bottom side and sort of roll it. It should just barely overlap. Get your fingers and sort of smush it together a tiny bit so it looks like one long roll of pastry. The egg will seal it so don't get overzealous here.

Cut the sausage roll into thirds, or if you want bite-sized rolls for appetizers, you can always cut them smaller. I like to get three out of one of the rectangles.

With your fingers pinch the ends together a bit. It's fine if you still see sausage poking out of the ends. Then get a knife or your pizza cutter and make three slight angled cuts in the top of the pastry.

Repeat with all the other rectangles of pastry. You'll end up with about 18 sausage rolls if you cut them into thirds. Brush the tops of all of them with the remaining egg.

Put them on a cookie sheet and bung 'em in the oven on 400 for about 20 minutes. You want the tops a nice golden brown.

They are simply delicious and a huge huge hit around here. They're even good cold the next day for lunch. Farmer B has one (or two) in his lunchbox today as a matter of fact. I ate mine with mushy peas, but I don't expect many Americans are willing to take the mushy-peas-smothered-in-vinegar plunge with me.


But you should at least try the sausage rolls so you can experience some real British comfort food and find a good use for that sage you have growing in your garden.

**I should add that before cooking you can freeze these on a tray then pop them into freezer baggies or containers. Just thaw overnight and cook as normal and they're a quick and delicious treat!

Thursday, April 9, 2009

Making butter :: Your turn to churn!

On the list of odd things I've tried in life recently, today's activity is right up there near the top. A friend of mine mentioned wanting to make butter with her children and I admitted that I was completely unaware that you can just "make" butter in your own home. I always assumed it involved some sort of intense processing and I'm sure the word pasteurization or homogenization was involved and there had to be some sort of large machinery in there somewhere too. Definitely people in hair nets. Definitely some sort of large stainless steel box with a conveyor belt in a factory.

Turns out that any fool can make butter at home with no skills and no special equipment. I am proof of that. I knew this would be something my boys would get a huge kick out of and I was right. Since we're trying so hard to show the boys where food comes from, this activity was right up our alley. We're growing a garden, we're raising chickens for eggs, so making our own butter seemed to be the icing on the sustainability cake. Granted my sustainability cake is small compared to the sheet cakes of the hard core sustainability families, but we're doing our best.

If you've ever wanted to make butter, or are intrigued now, get on it and follow these steps. My mom came into town today to visit for a few days so we got her in on the action too.

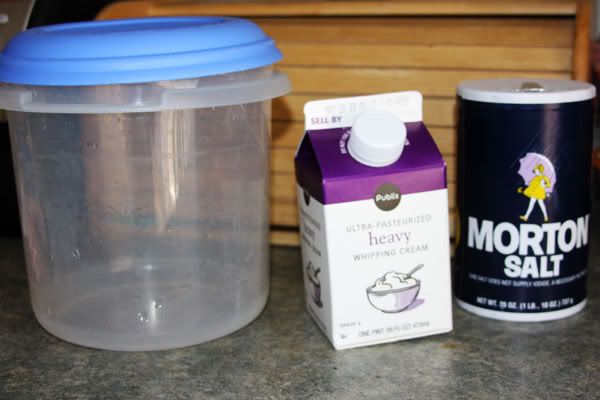
Here's the cast of characters:


:: Heavy whipping cream
:: A container with a tight-fitting lid. People not having kids help can use a mason jar. If kids are helping, use Tupperware.
:: Salt. Regular salt pictured. Kosher salt was used after my friend told me not to insult my butter with crappy table salt.

Pour the heavy whipping cream into your container. Make sure there is enough room for the cream to almost double at one point in the process. Sprinkle in a bit of salt. Put on the lid and shake. Then shake some more. Then when you think you haven't shaken enough. Keep shaking. Then give it to a small child to shake.


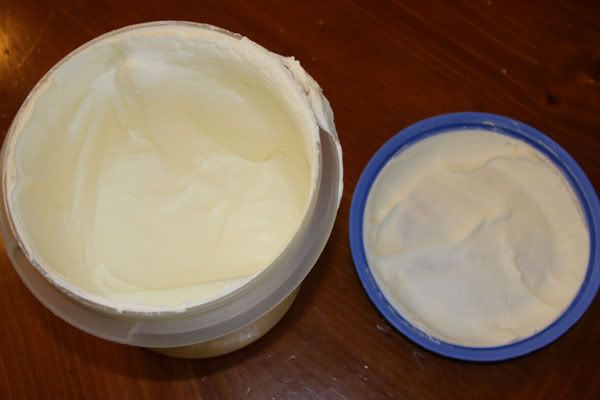
About 10 minutes into the process you'll see soft peaks forming in your container.


Then give it to another child to shake. Preferably one who does everything at 100% with no regards for dropping the container. Twice.


About 5 minutes later you'll see it turn into a Little Miss Muffet-pleasing chunky-looking curdled blob.


Then give it to your mom to shake. What must she think? She travels 5 hours to come and see us and within the first half hour of being here she's petting a bucketful of chickens and shaking butter in the living room. Oddly, she doesn't blink an eye at me anymore.


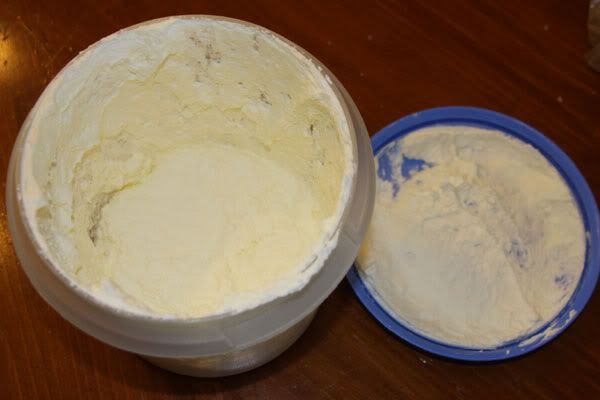
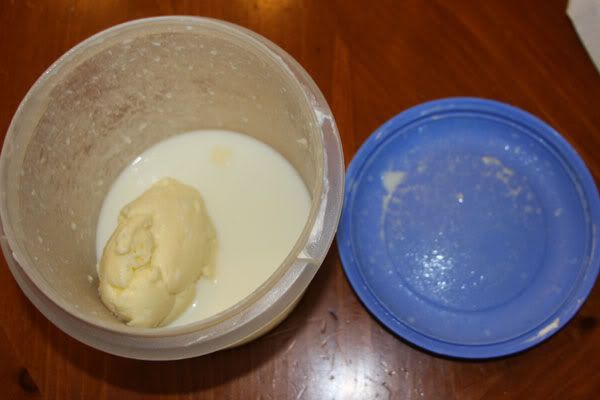
About another 5 minutes later you'll see it start to separate. By now your children have abandoned you because shaking a container for this long has bored them and you're left standing there like a fool shaking a container until your arms ache. But then you notice it. A sloshing sound. The butter and buttermilk are beginning to separate. Angels begin to sing.


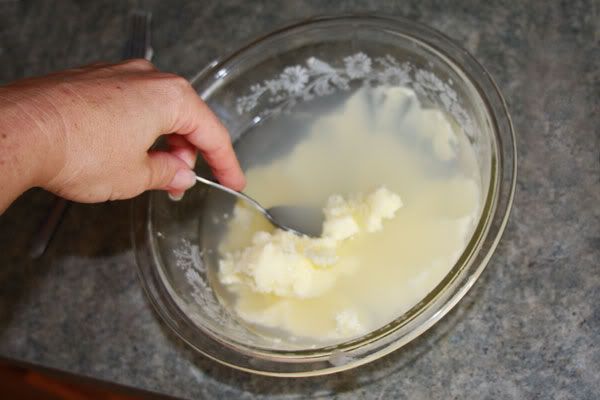
A few more shakes and you've done it. You have donned your mad scientist hat and perfectly executed an intense scientific experiment causing molecules to shift and move until an entirely new beast is born. Butter, baby. Just pour off the buttermilk and save it if you want to use it in your favorite recipe. Then put the butter in a bowl and pour in some cold water and refrigerate for about 20 minutes. This makes the butter easier to knead. You'll be using the cold water to wash the butter to extract the excess buttermilk from the butter.


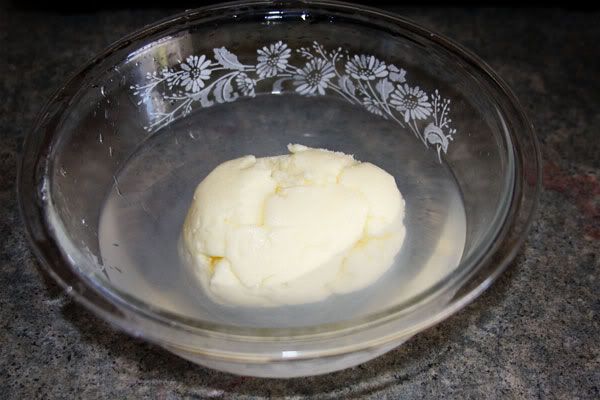
We took the butter out and I stuck my hand in the ice cold water and grabbed the butter to begin kneading it. I was immediately turned off by the texture and got out a couple of spoons to do the kneading for me. When the water got cloudy, I dumped out the water, filled it up with more cold water and kneaded it again. On my third go with the water, it ended up clear.


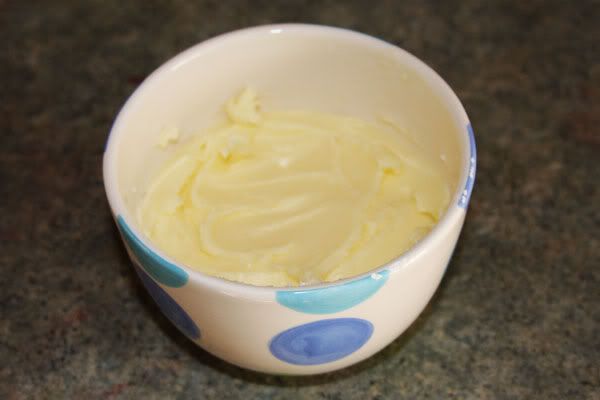
We dumped out the water and transferred the butter to a nicer container. We tried it on a slice of bread and it was amazing.


The boys were fascinated, my mom got a kick out of it and it was just a fun experience for us all. So put down your hoe for 30 minutes and shake up some butter, baby!

Saturday, February 28, 2009

Best Soup Ever

I realize I appear to be on a leek soup kick, but I can't help myself. I'm allowing myself to indulge in this so that I can move on. You read my insane rave about how good Jonah Lisa's "Leek and Potato" soup is and how I planned on making her Leek, Chicken and Apple soup. I've bought the ingredients for that soup many times, but they always end up getting eaten before I can prepare it. Someone always eats an apple and I end up using the leeks. Yesterday, I decided to outsmart my family and bought the ingredients and made it right away.


Three words:

Best.

Soup.

Ever.

Not exaggerating. Not being dramatic. Just being honest. Unreal.

I know it was good because my boys both ate it and didn't leave a drop in their bowls. Neither of them particularly like eating soup and so far the only soup I've found that they'll both eat is a super-yummy Tomato-Peanut soup - and even though they like it, they never finish their bowls.

The little one is about as picky as they come and when he gobbled up every single bite of the Leek, Chicken and Apple soup, I knew we had a winner. This is the first time I've seen the bottom of the bowl with this kid. He's a wily one for sure. He can go a full week without taking one bite of his dinner, so seeing him eat this soup was captivating.


Aidan was iffy at first but when I bribed him with bread for dunking he was willing to take a bite. He ended up loving it and said "You have to make this soup again! It's making me strong!" Ahhh grasshoppa, you have learned well.

Aidan prefers the hover over your bowl to keep your shirt clean approach.

Farmer B came home from work early and managed to get some soup while it was still warm on the stove. He had two huge bowls and said it was one of the best soups he'd ever tried.

This will get prepared at our house often. I can't wait to make it for company now. Readers - you make this soup now! You make soup now!

Friday, February 27, 2009

Leeks are for Lovers

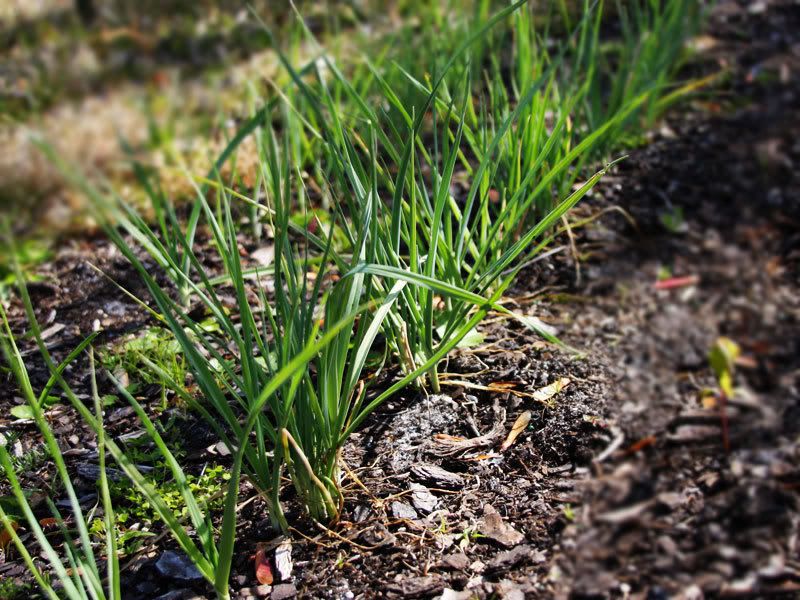
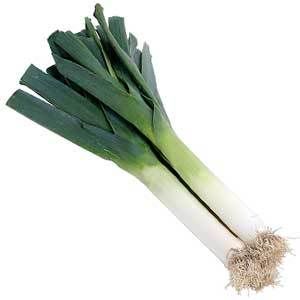
Did you see that little patch of green in my garden of death? Over there on the left… Yup. That's my pride and joy. That little green patch is my Giant Musselburgh Leek crop and I'm crossing my fingers that I get a good leek harvest this year. Leeks are by far the most-used vegetable in our house.


I've found that most Americans don't have the leek love like I do. They're much more common in Europe, but they're like the red-headed stepchild of the onion here. People are confused by them and just don't use them.

I know that my assumptions are valid because 9 times out of 10 when I buy them the cashier in the grocery store turns them around about 4 times before crinkling up her nose and saying "What ARE these?" I'll admit to wanting to say "really big scallions - crazy huh?" since scallions so much cheaper than leeks, but I always sigh and say "They're LEEKS" with contempt in my voice. I don't know how you can go through life leek-less.

If you have someone in your life that can't handle onions due to a digestive malady, they can probably manage leeks just fine. I can think of two people I know that have digestion issues with onions, but can suck down leeks like a charm. You can cut them up and use them as an onion substitute in any recipe. They are also great by themselves with a nice white sauce and they make killer, killer soups.

I know this because my friend Jonah Lisa over at The Toby Show is a lifetime member of the leek-lovers club. She has two leek soup recipes on her blog that are simple, wholesome and a perfect introduction to leeks for a newbie.


I just made her "Leek and Potato" soup and it was so dreamy that I sucked down an extremely gargantuan bowl and completely forgot to dip my bread into it. I let Aidan take a bite and he declared it "Great! It's 15 89!" He likes to yell out random lottery numbers when something is really good. He's like a walking fortune cookie, that kid.


(It's quite clear that I do not have a career in food photography waiting for me. No props. Bad lighting. Too impatient not to eat right away.)

Jonah Lisa also told me another little tidbit about the Leek and Potato soup - it's also good with another under-used vegetable - the elusive parsnip. She said to replace the potatoes with parsnip and cook it a bit longer and viola - parsnip and leek soup. I'm a HUGE parsnip fan - their woody taste always reminds me of Christmas dinner. I can't wait to try this again with parsnips. The oh-so-holy union of two uncommon vegetables into one creamy concoction makes me quiver with anticipation.

I'm going to try her Leek, Chicken and Apple soup next. I am giddy with excitement because I've never tried a recipe from her blog that I didn't love. She swears that the Leek, Chicken and Apple soup will cure what ails you, so it sounds like the perfect elixir of health.

Do you SEE why I'm babying my leeks now? I have the leek love. If you've never cooked with leeks, grab a bunch, some taters, some broth and some cream and print out JL's recipe from The Toby Show - you won't regret it!

Monday, December 8, 2008

Red Radish Salad

As you may have read, the first edible food we harvested from the garden was a row of radishes. And the problem became what on earth we'd do with them besides bung them on top of a salad. I felt compelled to actually try and enjoy the only fruits of our long garden labor. My friend Courtney found a Red Radish Salad recipe from Rachel Ray's website. I was game because it didn't have a lot of ingredients and sounded good. I made it last night and it was honestly one of the best-tasting little salads I've ever eaten. This should be a go-to recipe for any new gardener that successfully grows radishes. They're easy to grow so they're a good first-vegetable for us newbies, but then you have to figure out how to enjoy them. This recipe is it!!

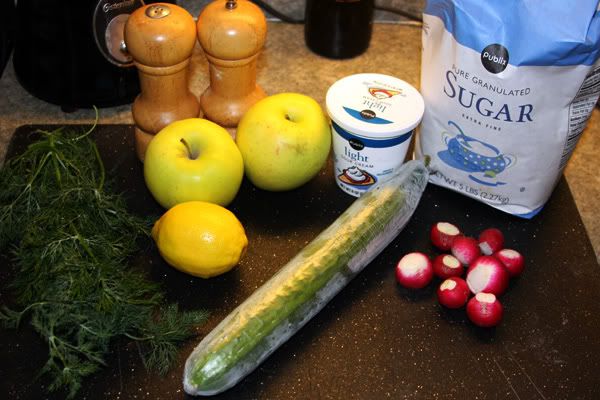
Here's what you'll need: Sugar, lemon, sour cream, red radishes, golden delicious apples, European seedless cucumber, fresh dill, salt and pepper. Do you like how I laid it all out for you like the ingredients are so exotic that you need your hand held to figure them out? Good. I will now continue to insult your intelligence by photographing the steps. Yes, I was just that excited about the damn radishes. Here we go:

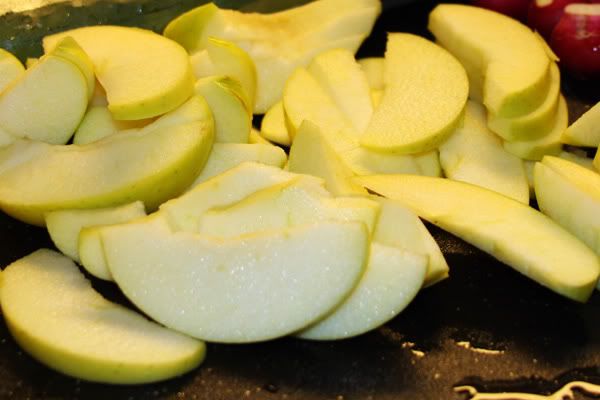
First you quarter and core two apples and slice them into thin slices. (Now that I've done this, I'd say to do this last because the apples brown quickly).

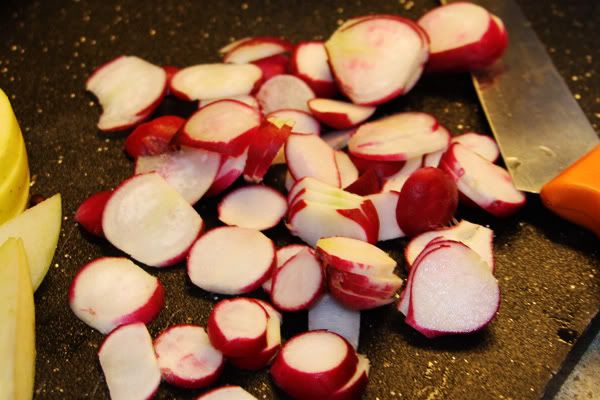
Next you thinly slice your radishes - the real live radishes that you actually grew in your garden that you're so happy about - those radishes.

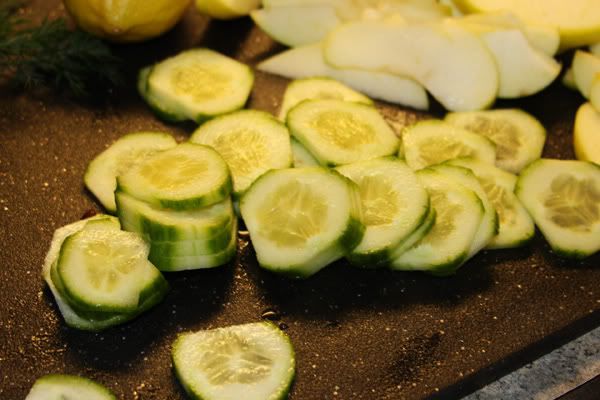
Then you thinly slice one-half of your Euro-cuke. I'm sure you could do this with an American cuke, but European cucumbers are just so much more refined.

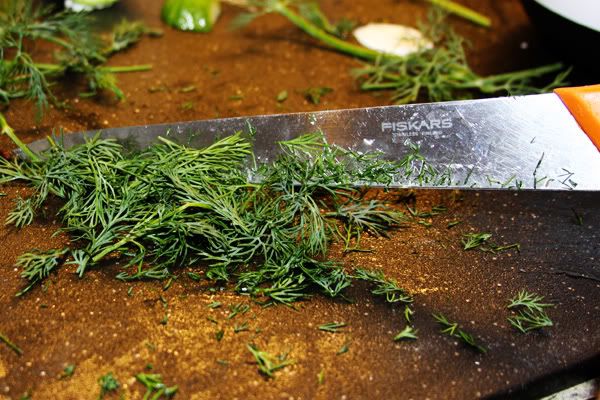
Chop up some dill - about 2 tablespoons. You just can't have too much dill. Feel free to add about 3-4 tablespoons like I did because more dill is the only dill.

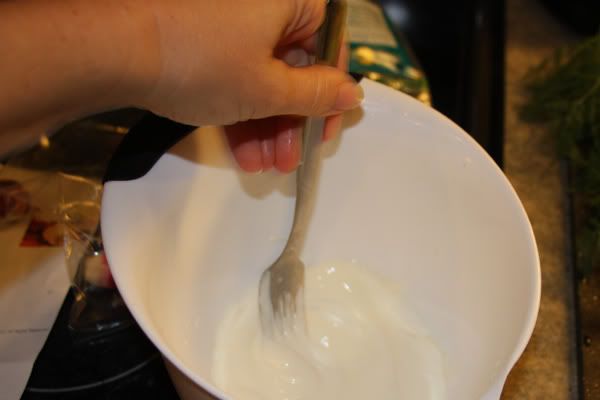
Then get a large bowl and mix up the juice of one lemon, 2 teaspoons of sugar and 1/2 cup of sour cream. We used reduced fat sour cream to make it a bit healthier. The bowl you see pictured is not a large bowl. I decided a small bowl would work. Then when I dumped all the chopped up food in it, it didn't fit. So definitely get a large bowl.

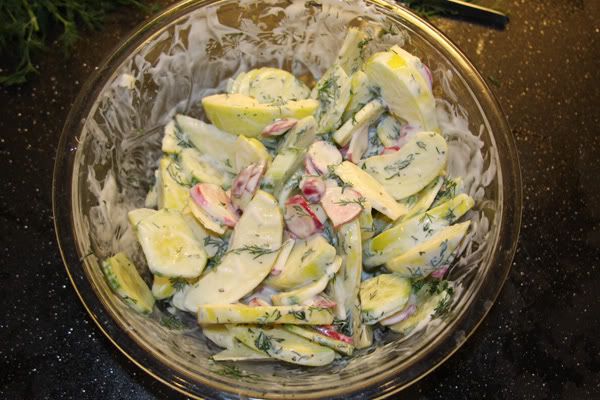
Finally add in your radishes, apples, cucumbers and dill and toss to coat thoroughly and sprinkle with salt and pepper. (This would be the large bowl).

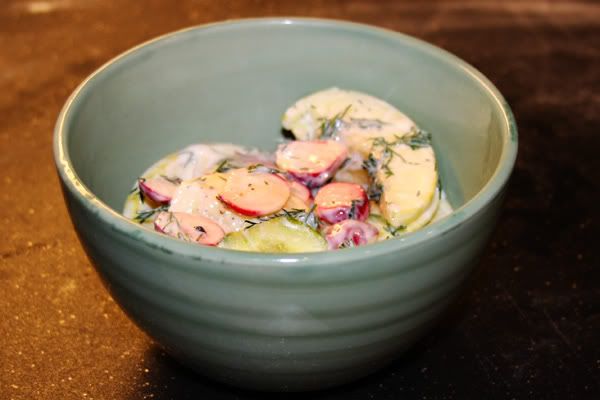
I just couldn't believe how great it tasted! Farmer B got home from a long day of work and turned his nose up at the funky-looking salad in the fridge. Next thing I know he's inhaling it and raving about how great it is. He said it's one of the best salads he's had. Farmer B is a manly-man, so him happily snarfeling down a Red Radish Salad and raving about it is huge. It's sort of sweet like a fruit salad, but the dill and radishes add a very nice bite to it. Now I'm no chef, but this was so tasty and so easy to make. If you can chop things up and stir stuff together, you're golden.
Blog Widget by LinkWithin